D.I.Y. Diaper Decals
Fun, do it yourself diaper stickers using only a printer, packing tape, and water! 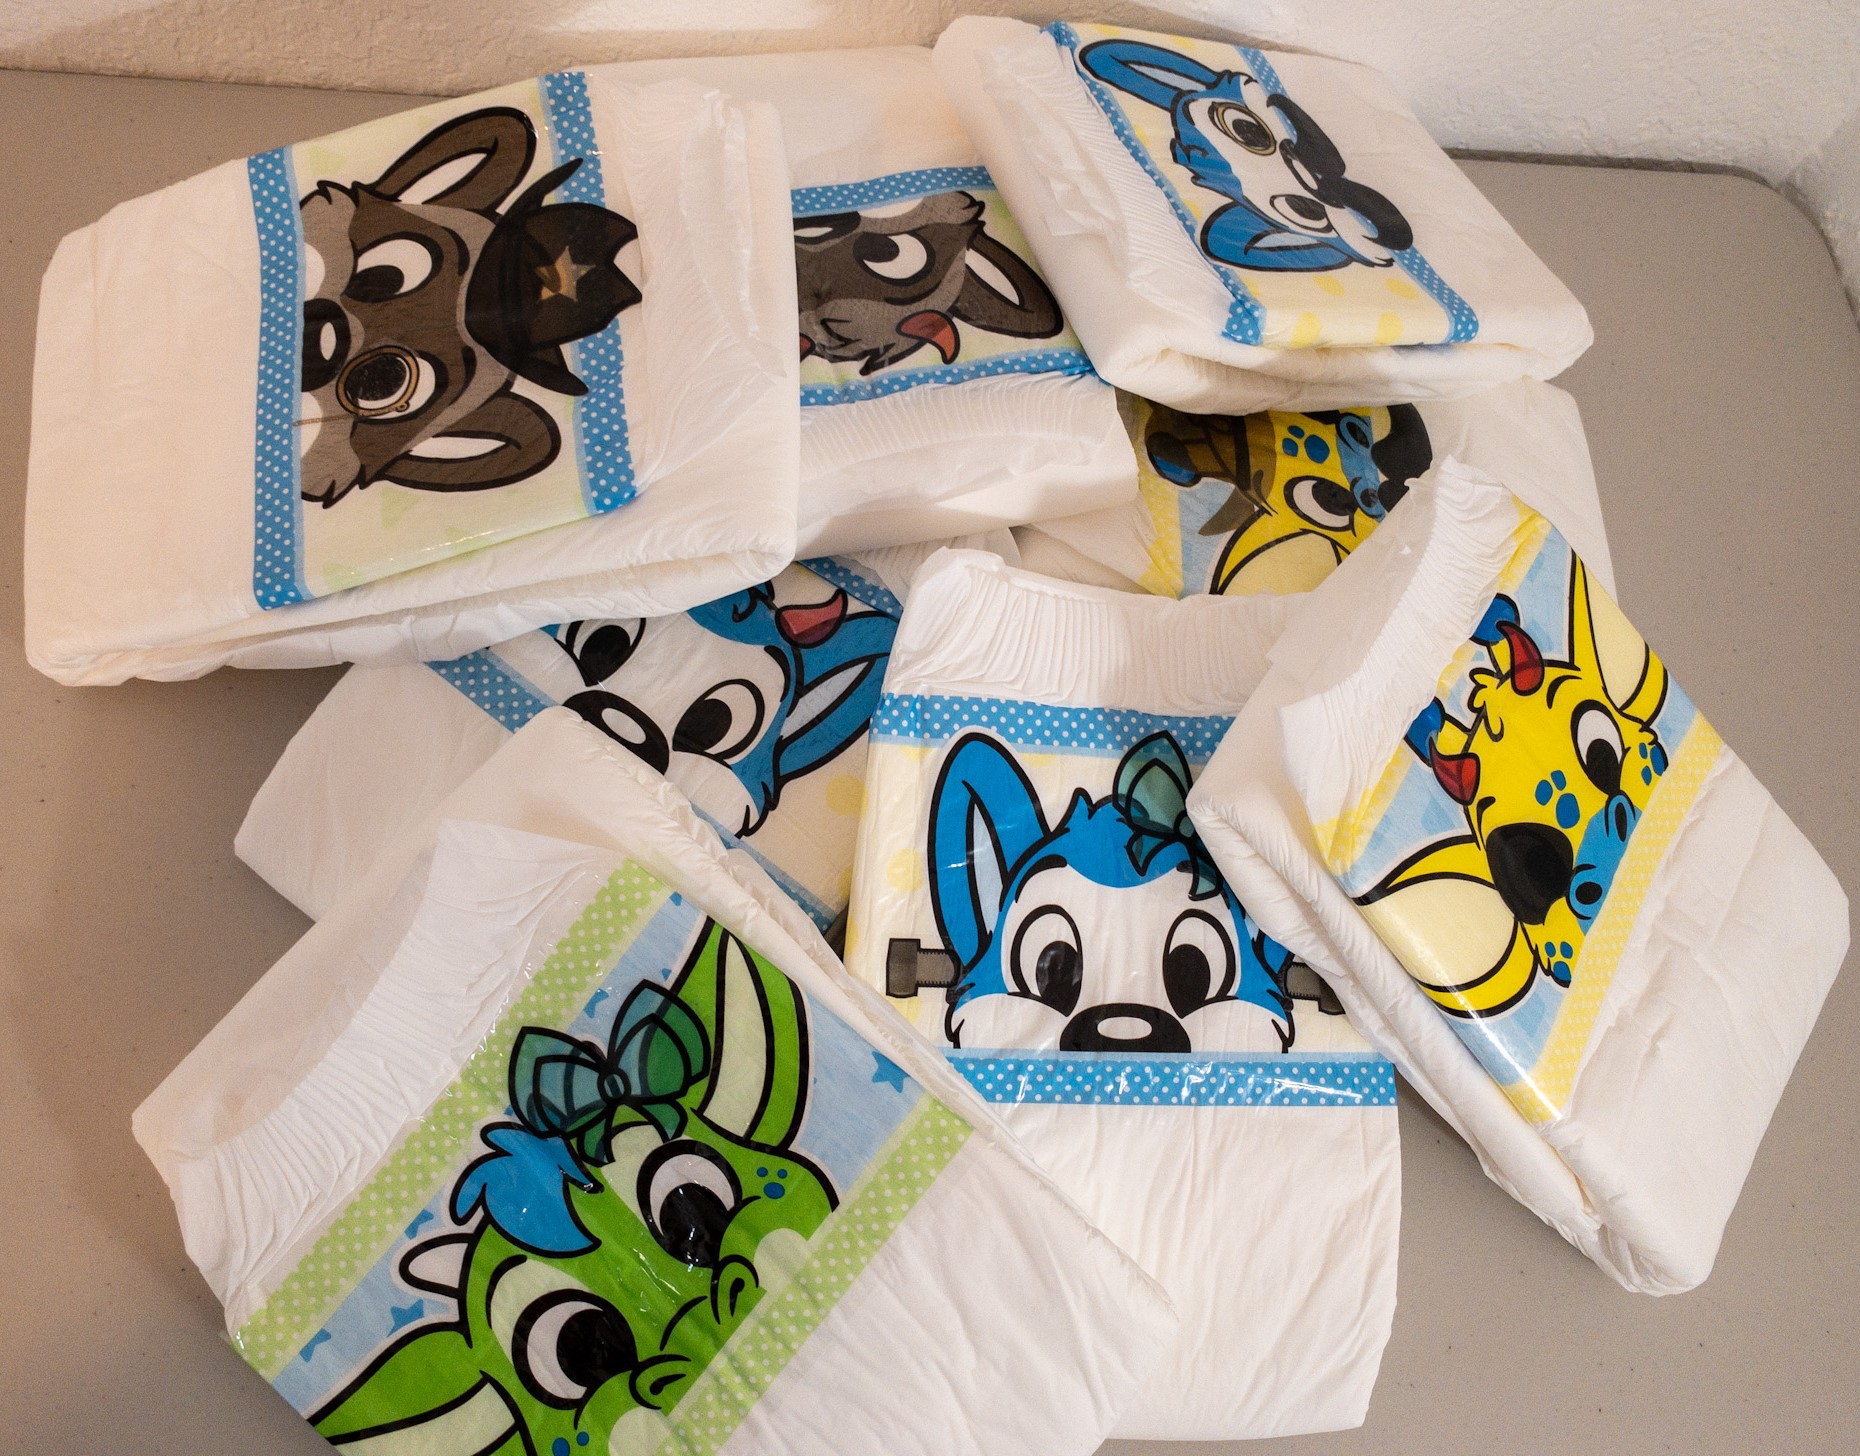
Who doesn't like arts and crafts, and playing with your diapers? This is what we call a win win situation.
Just in time for Halloween, the gang at ABU is brewing up some ultra cute activities for all you diaper lovers, littles, and caretakers to have some spooky fun with. Diaper Decals! We found these to be a super cute idea and simply cannot wait to share them with everyone already, don't worry more are coming.
Below you'll find step by step instructions on how to make your very own Diaper Decals, there's a few examples we have, but you're totally able to make your own designs and make custom stickers for your own decorated diaper!
What you'll need:
- A printer - Paper - Scissors - Packing tape - A bowl of water
Got everything? Great let's get to it kiddo! 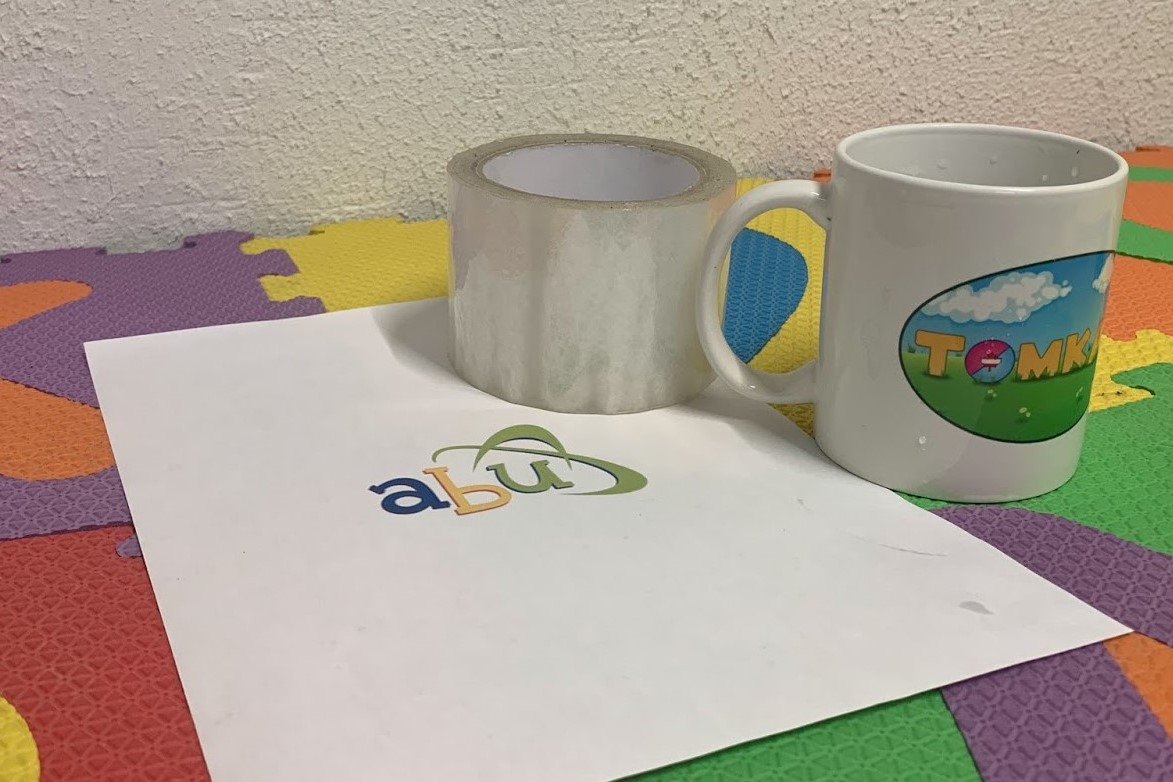
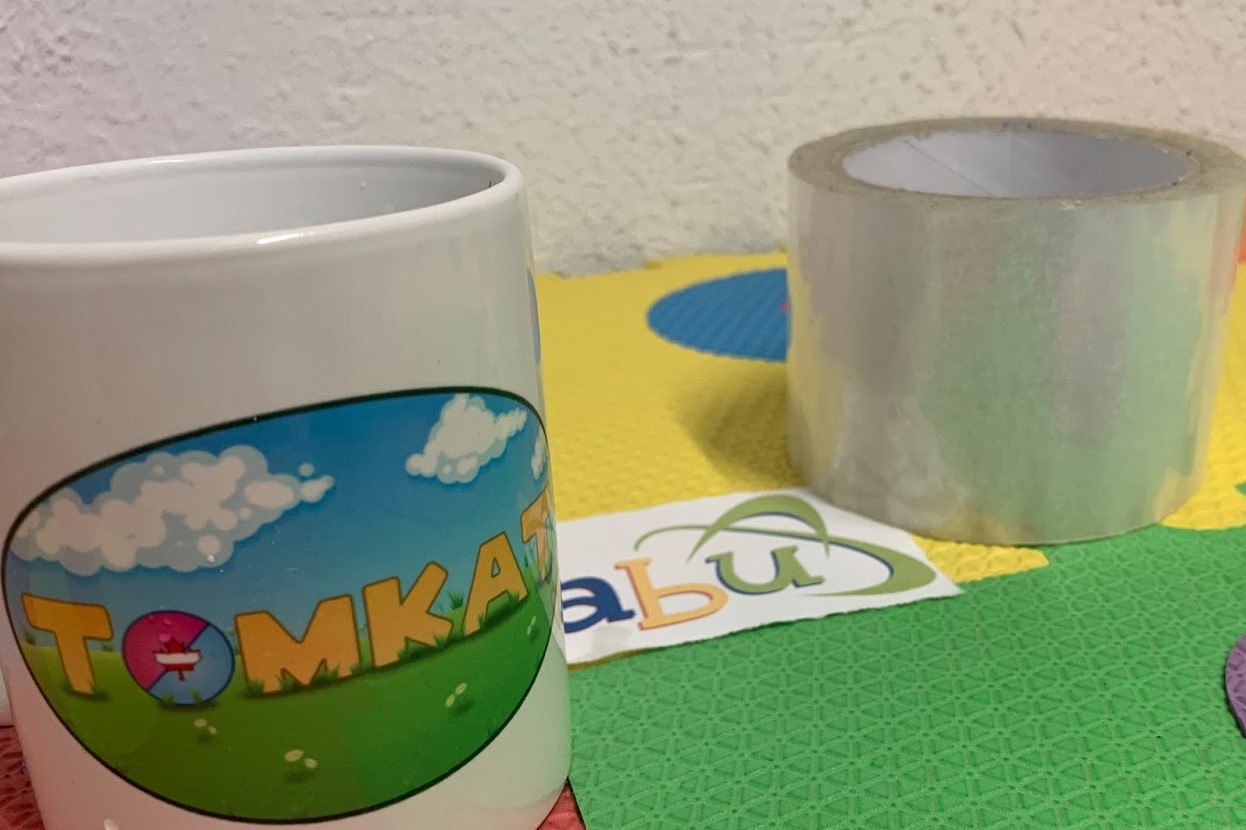
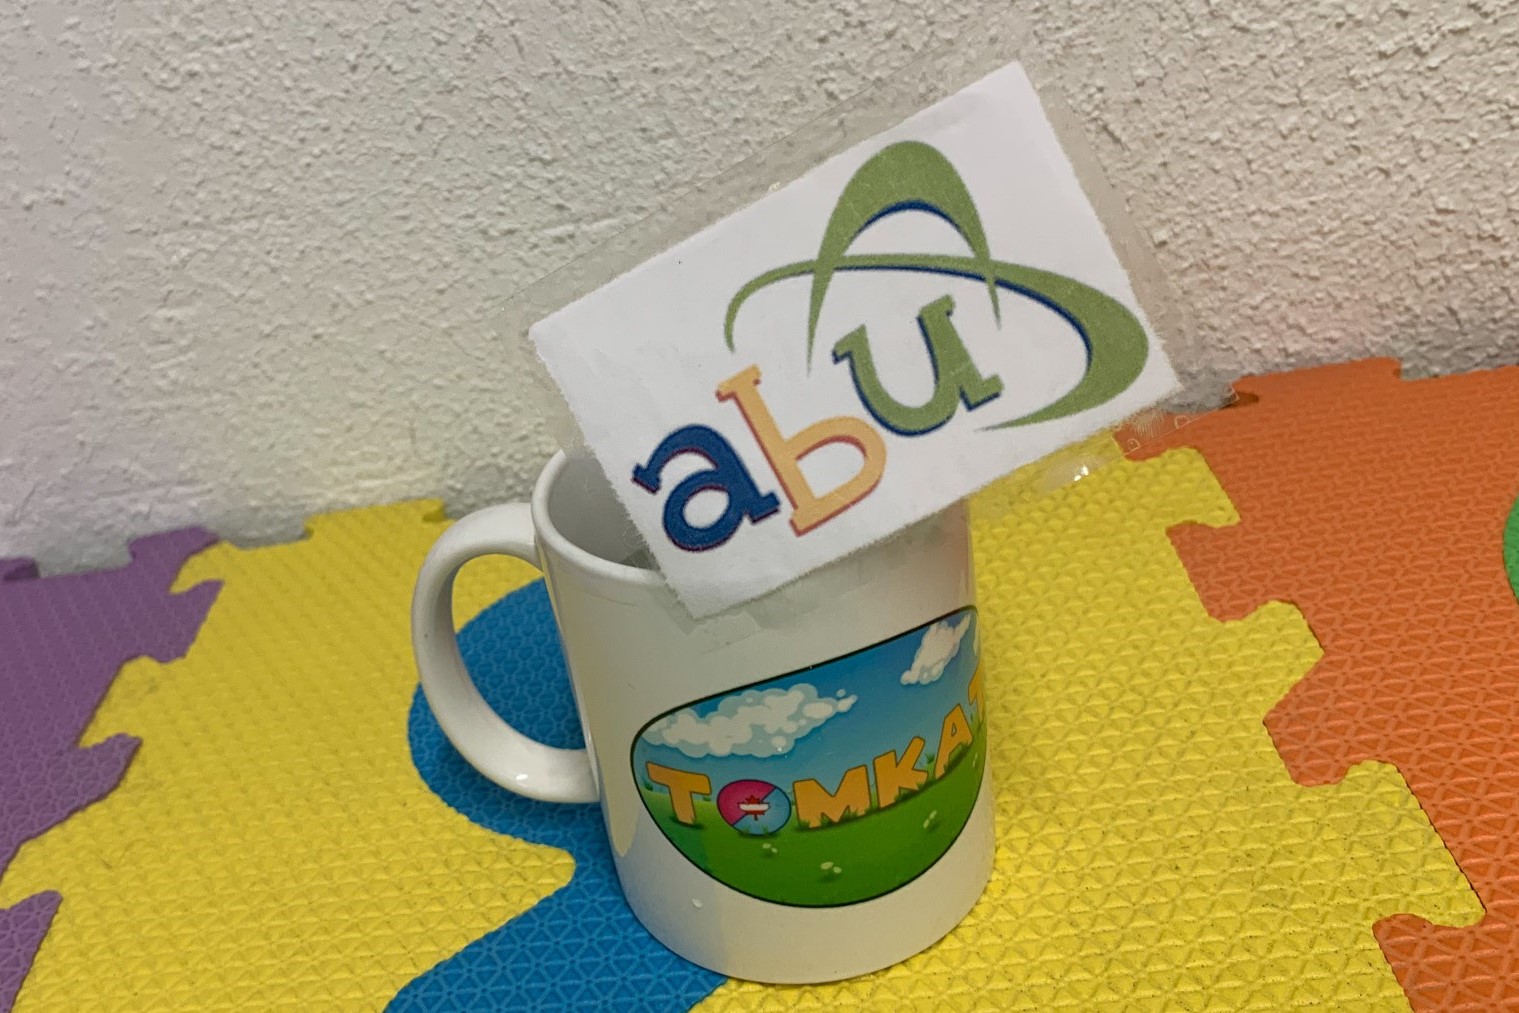
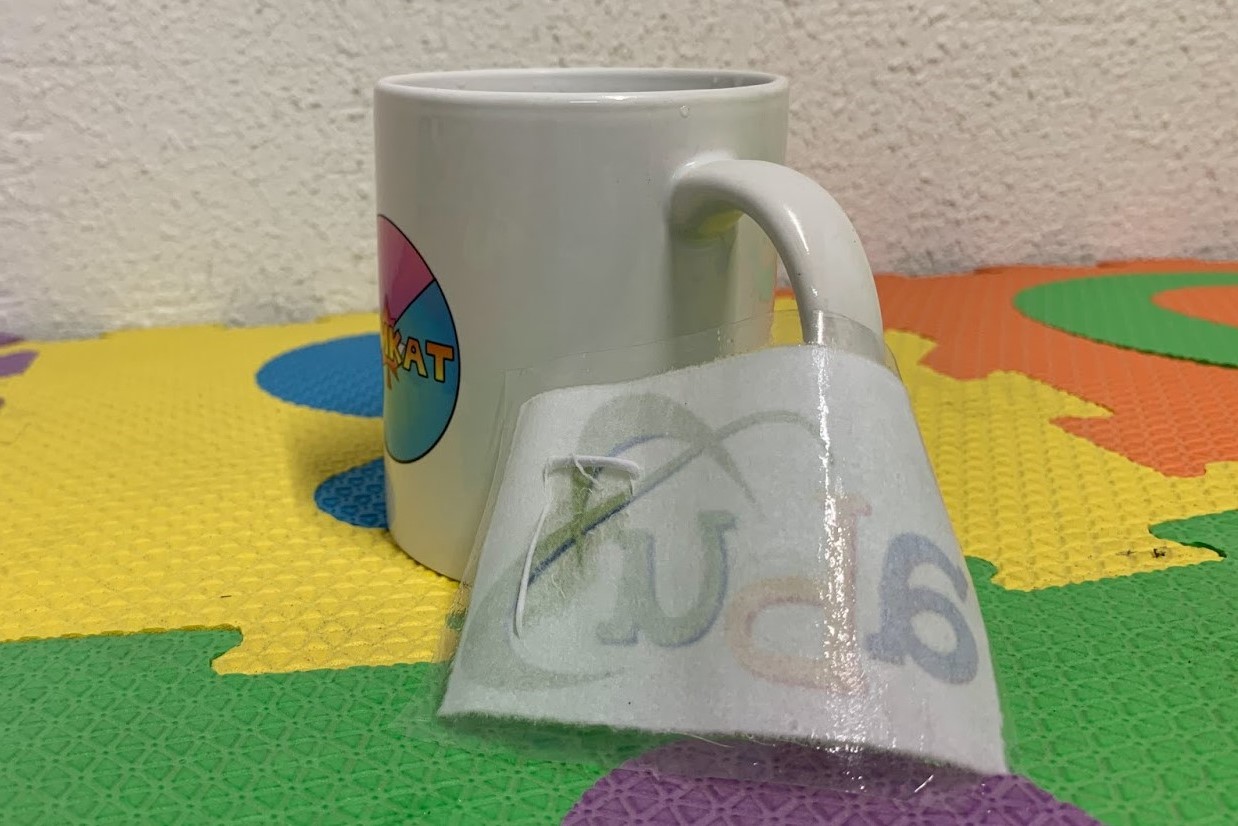
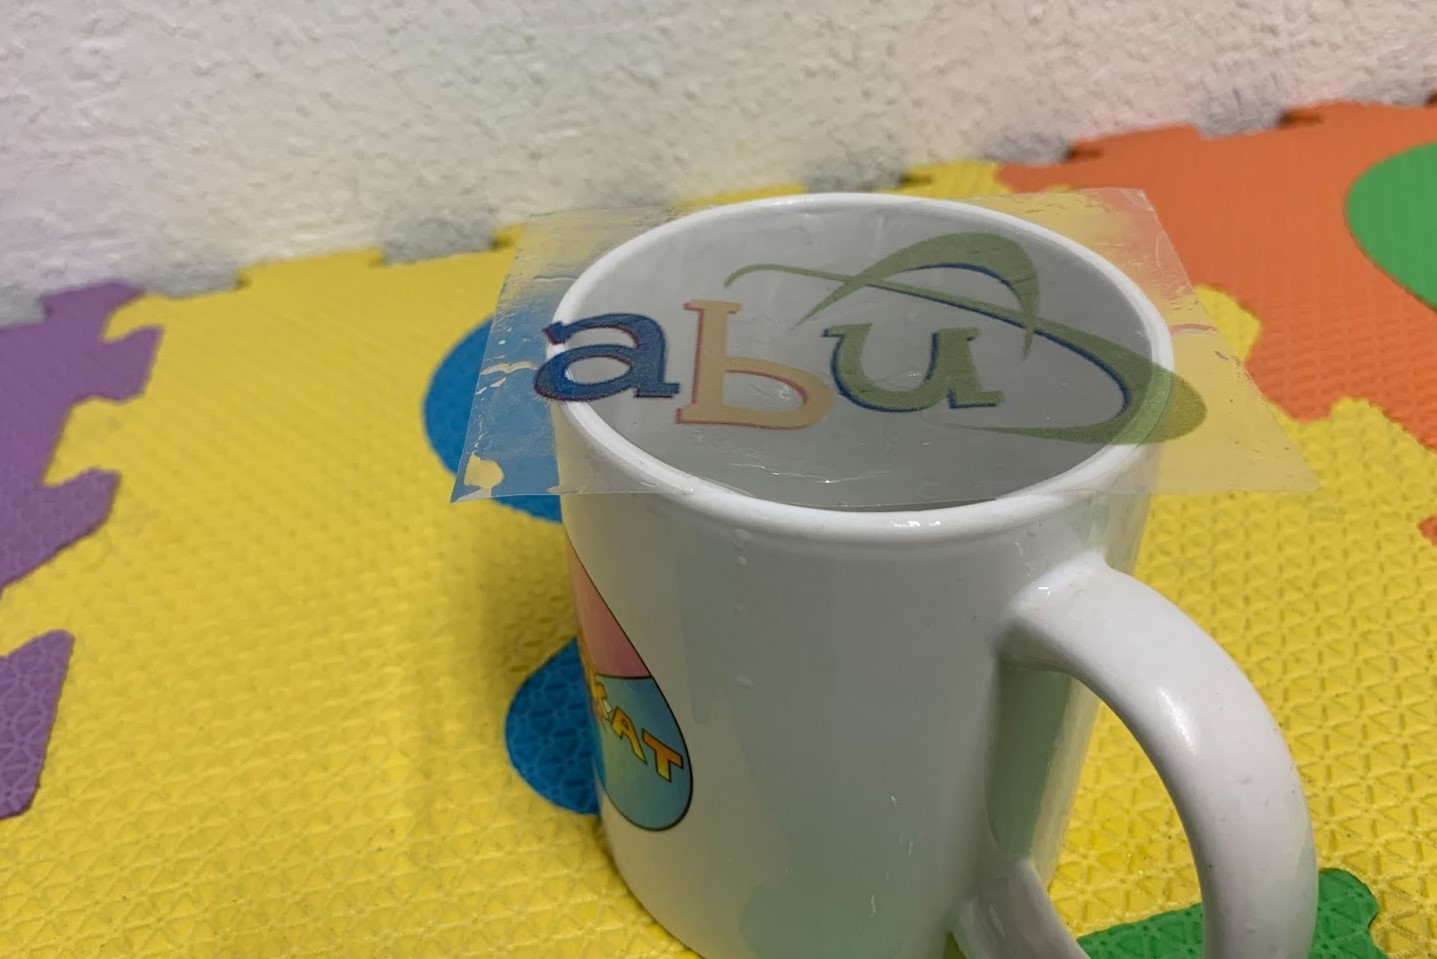
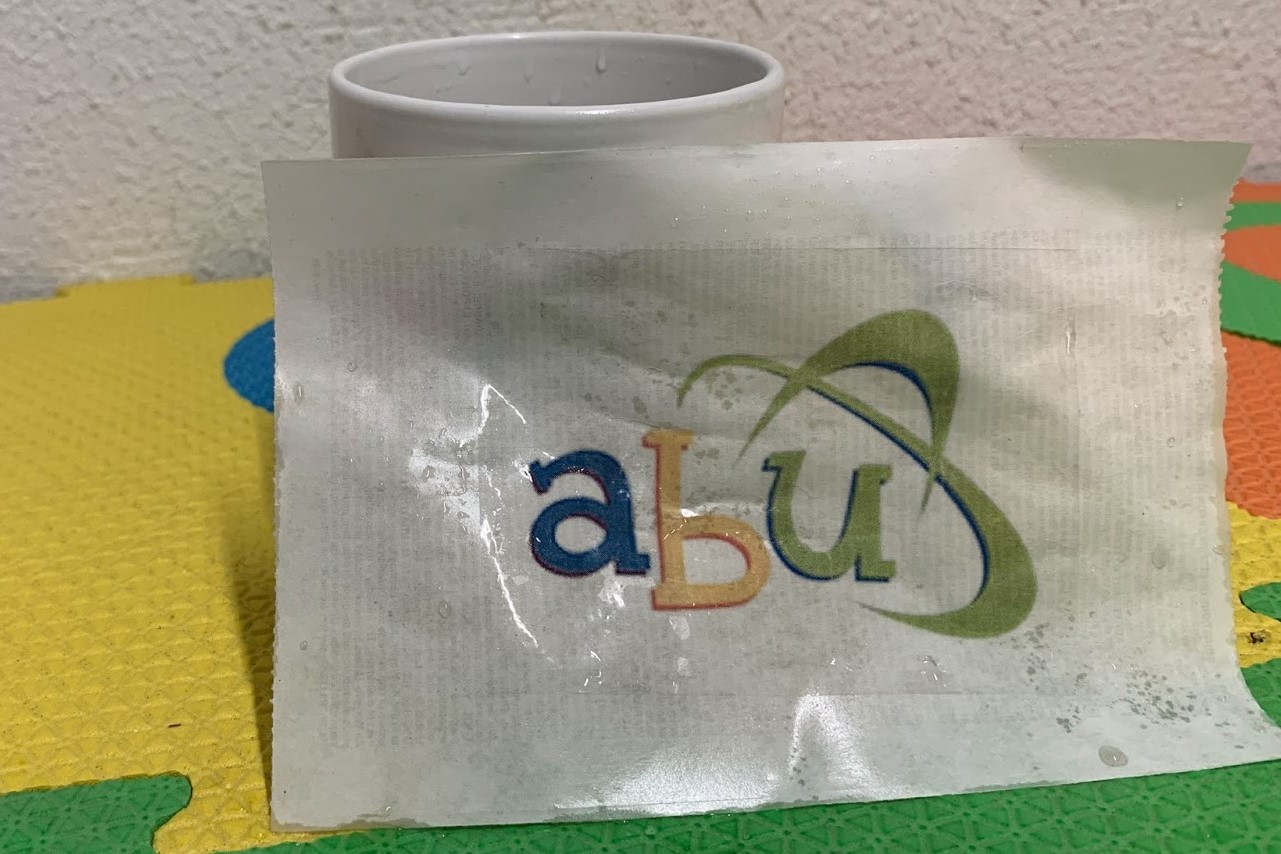
Step 1) Decide which decal designs you wish to make! It can be tough choosing a decal idea on your own, but there’s no wrong answers here kiddo, with a bit of noodling and some creative inspiration, you’ll be turning ah ha moments into cute stickers in no time!
You can also download our example image shown to the right.
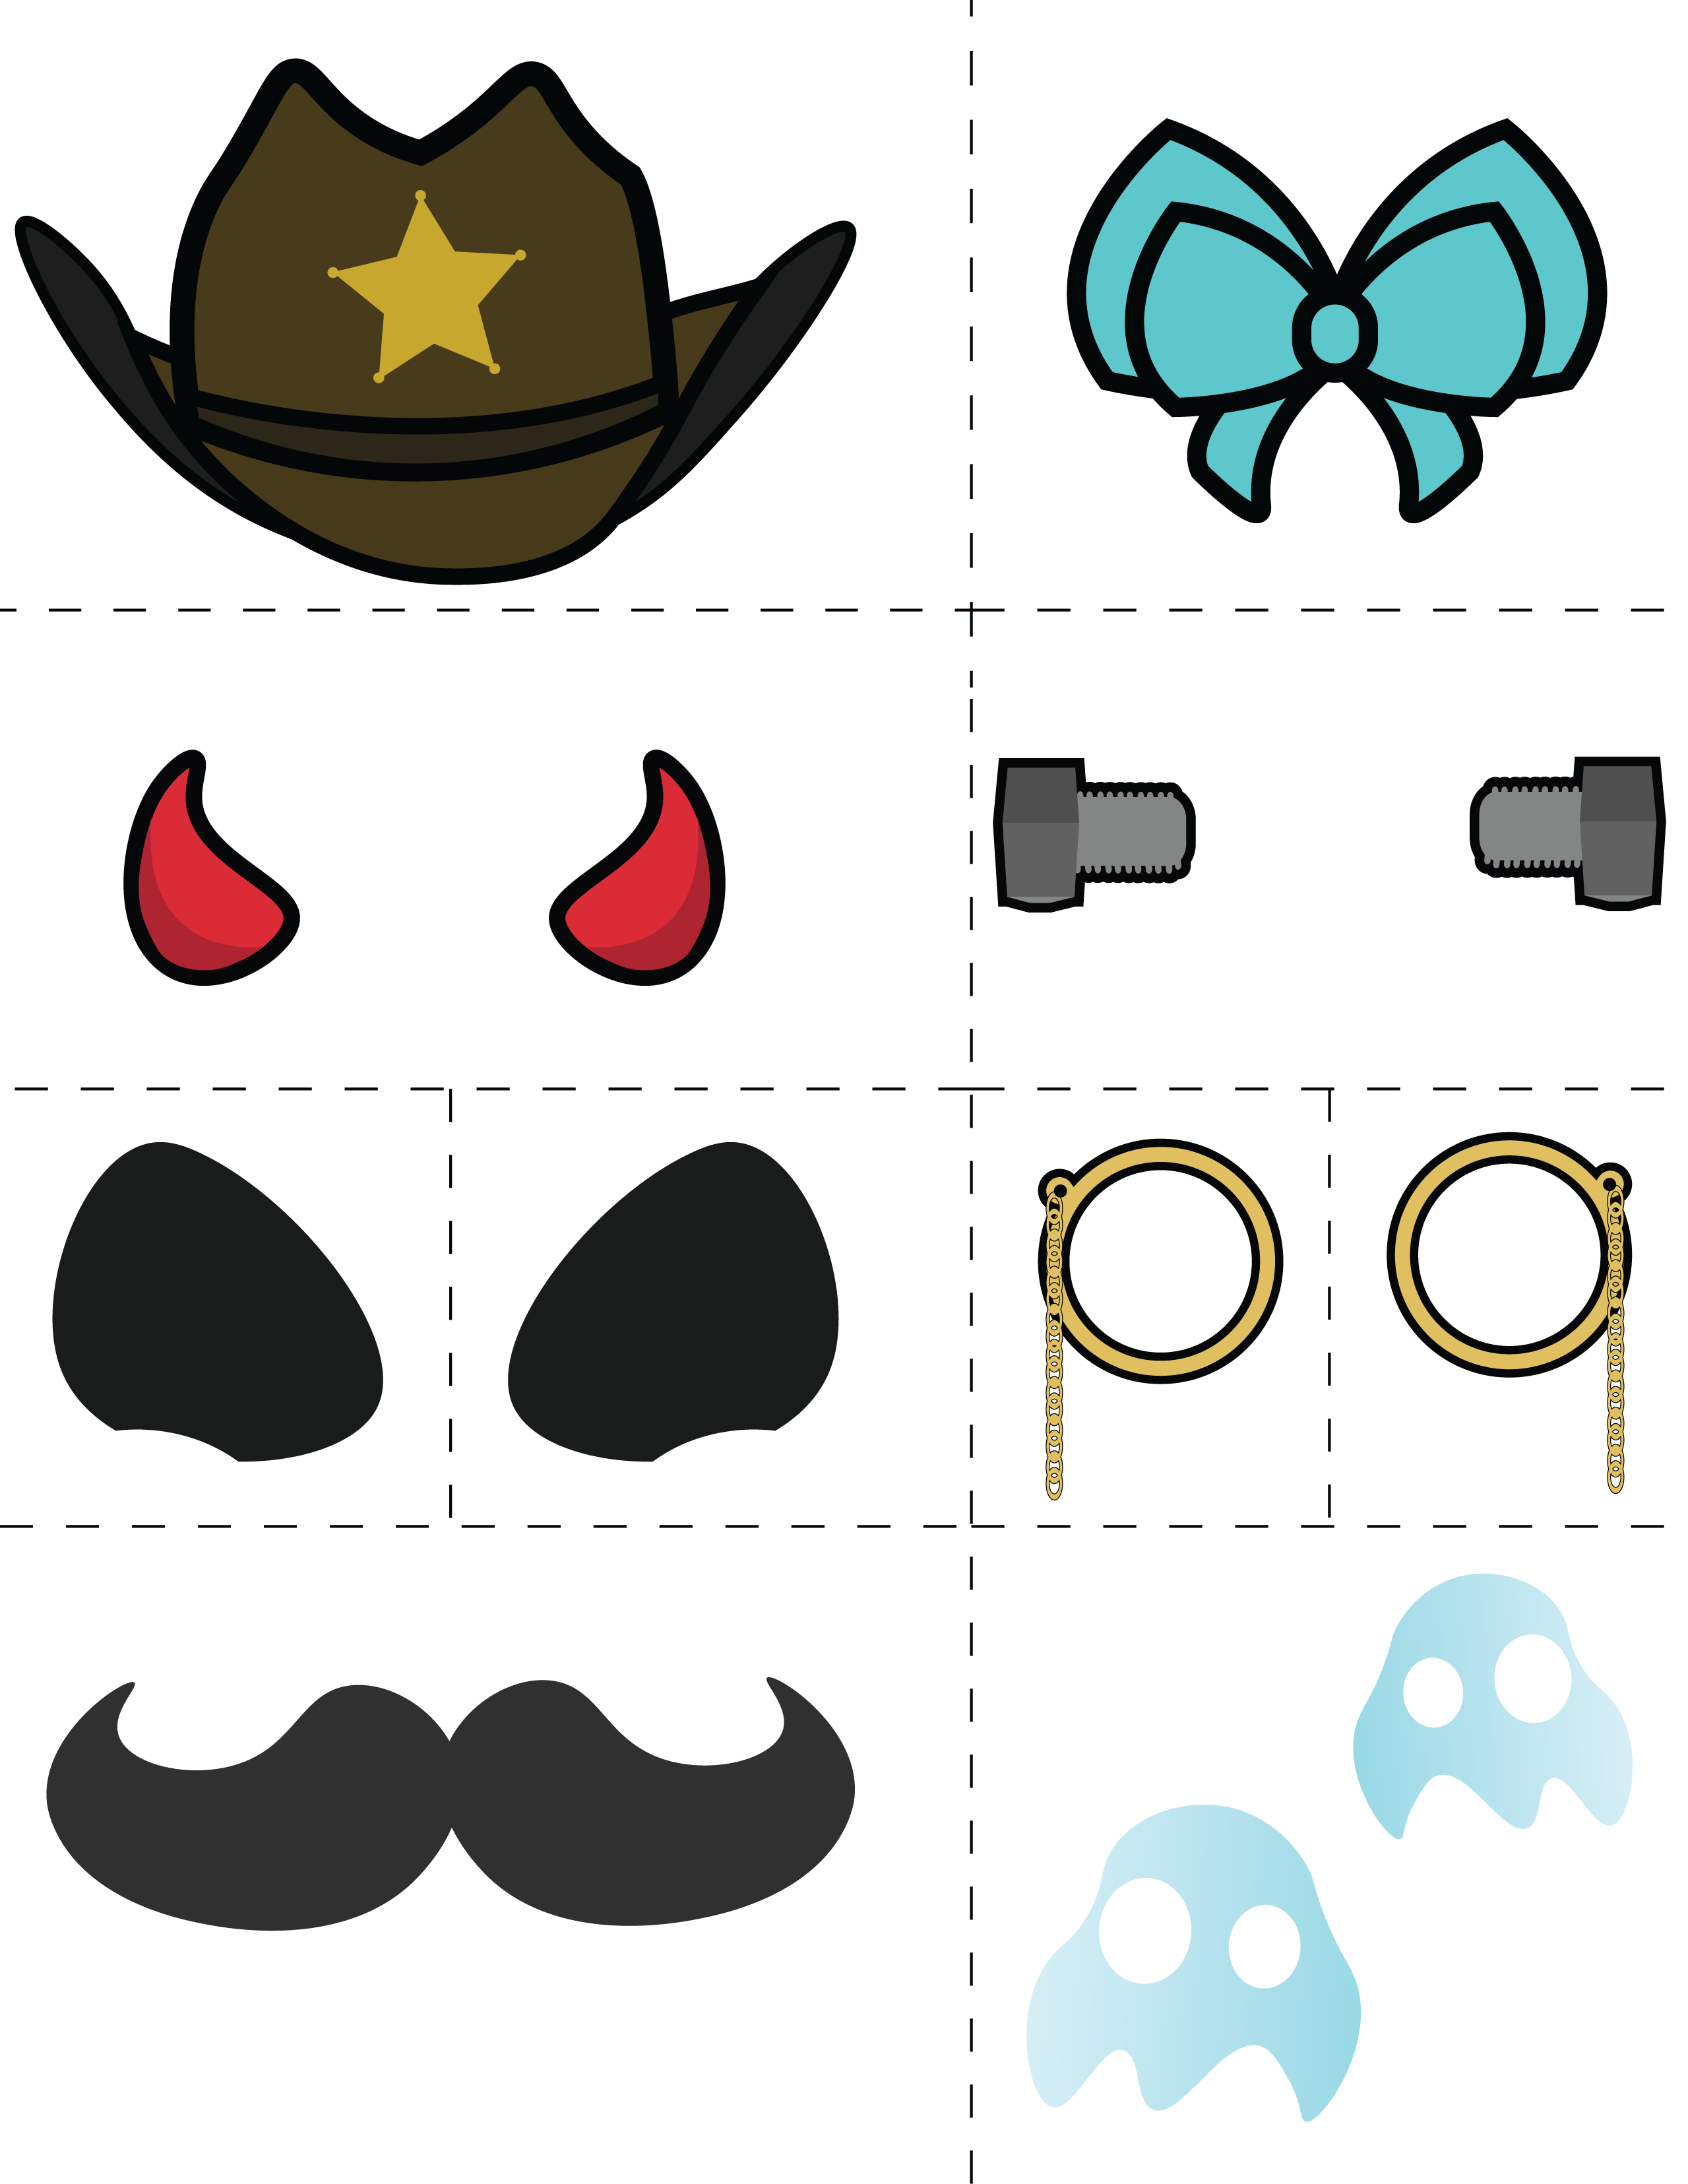
Step 2) Print your sticker and cover with packing tape! Go ahead and print out your design on a sheet of paper, everything looking good so far? Awesome! Double check the image to make sure your design fits well under the tape one last time before the point of no return! Oooh spoopy.
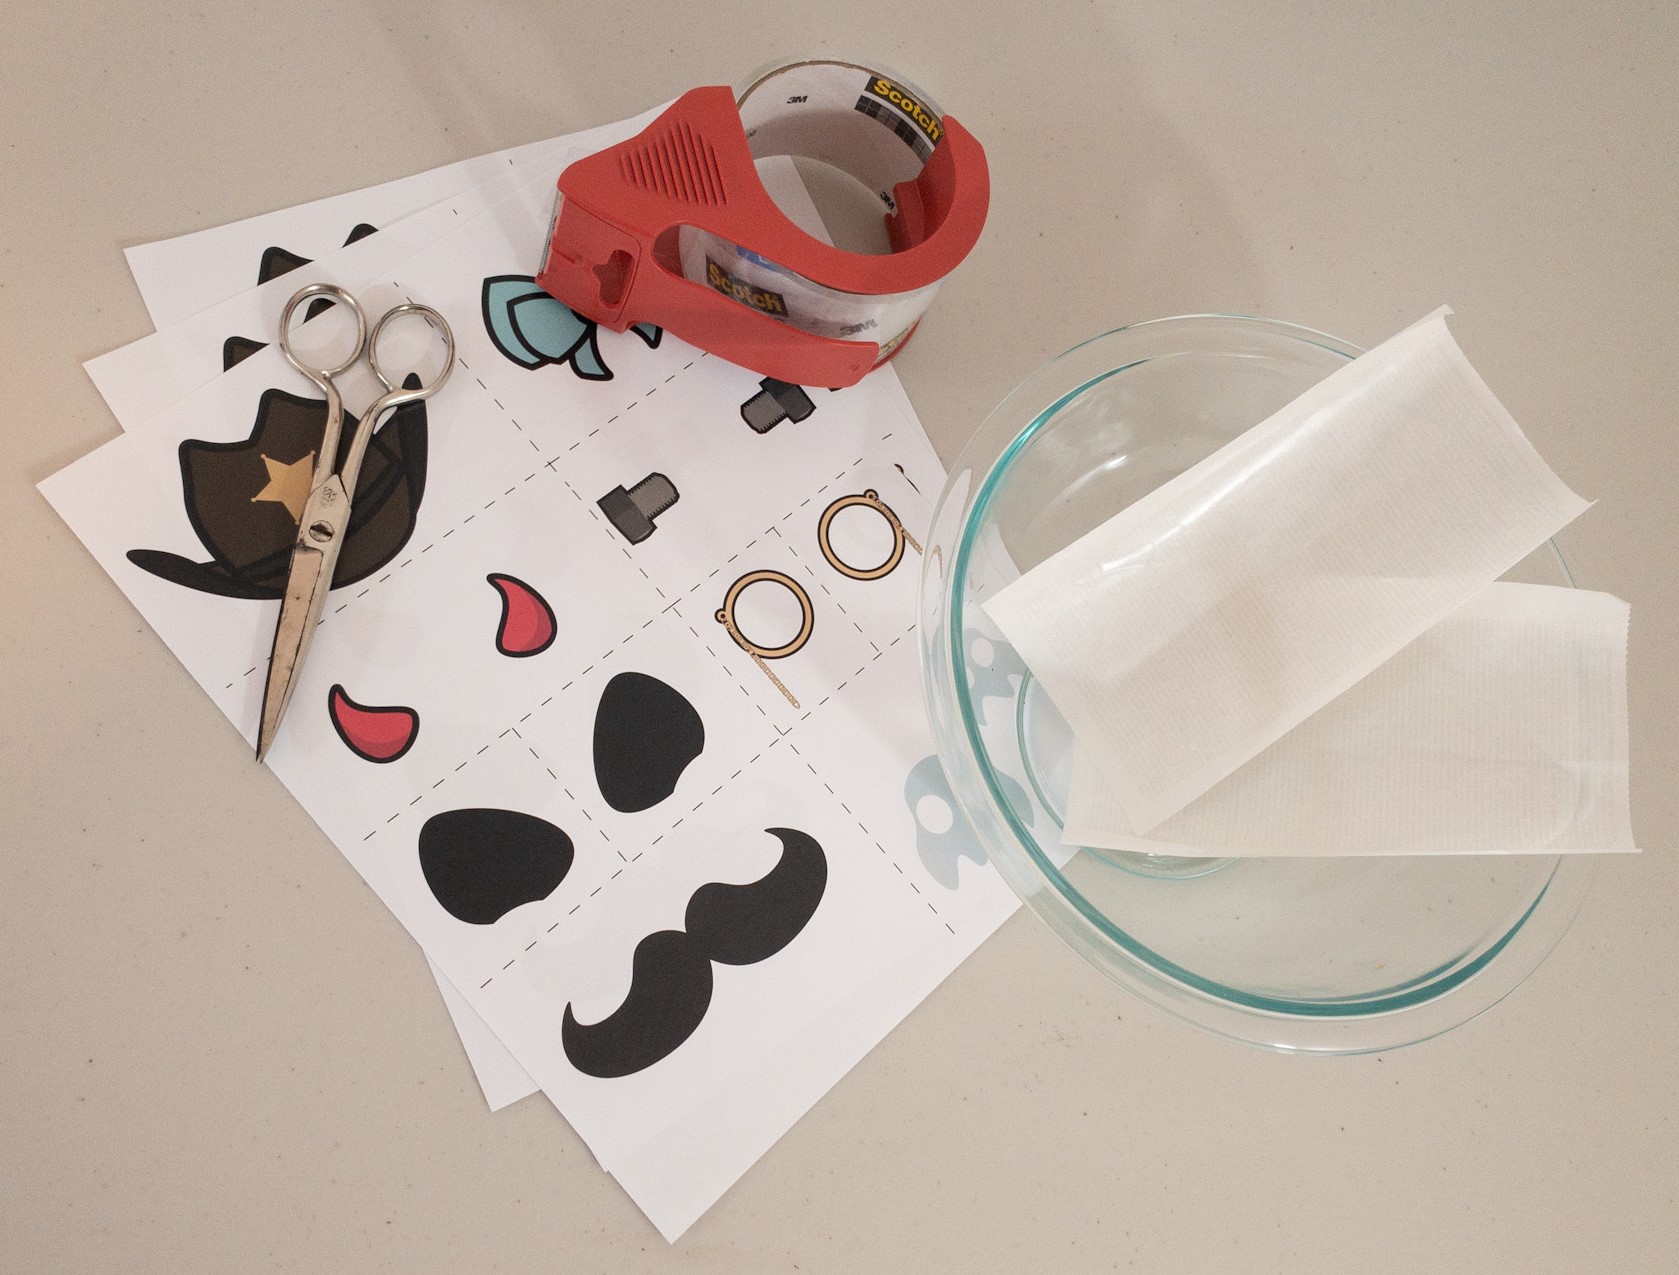
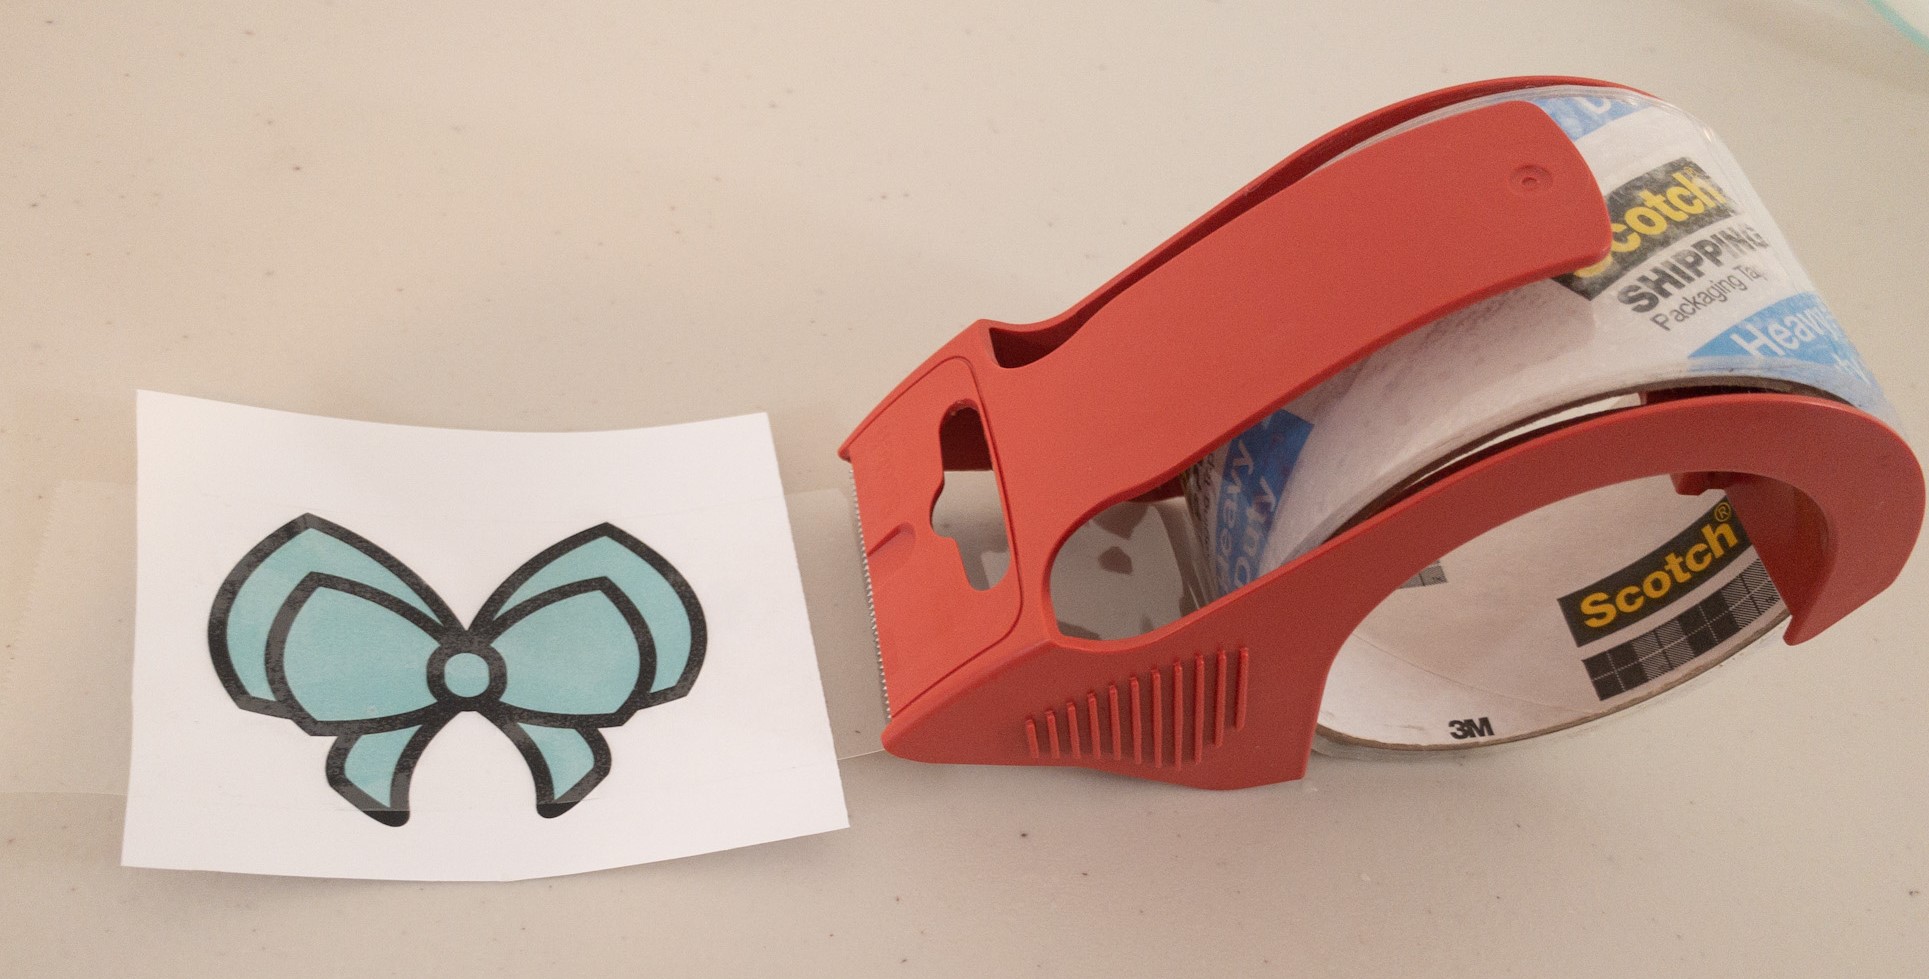
Step 3) All the rubbins. Press over the tape and paper repeatedly, brushing back and forth plenty so every inch is evenly pressed together and really super smooth all over.
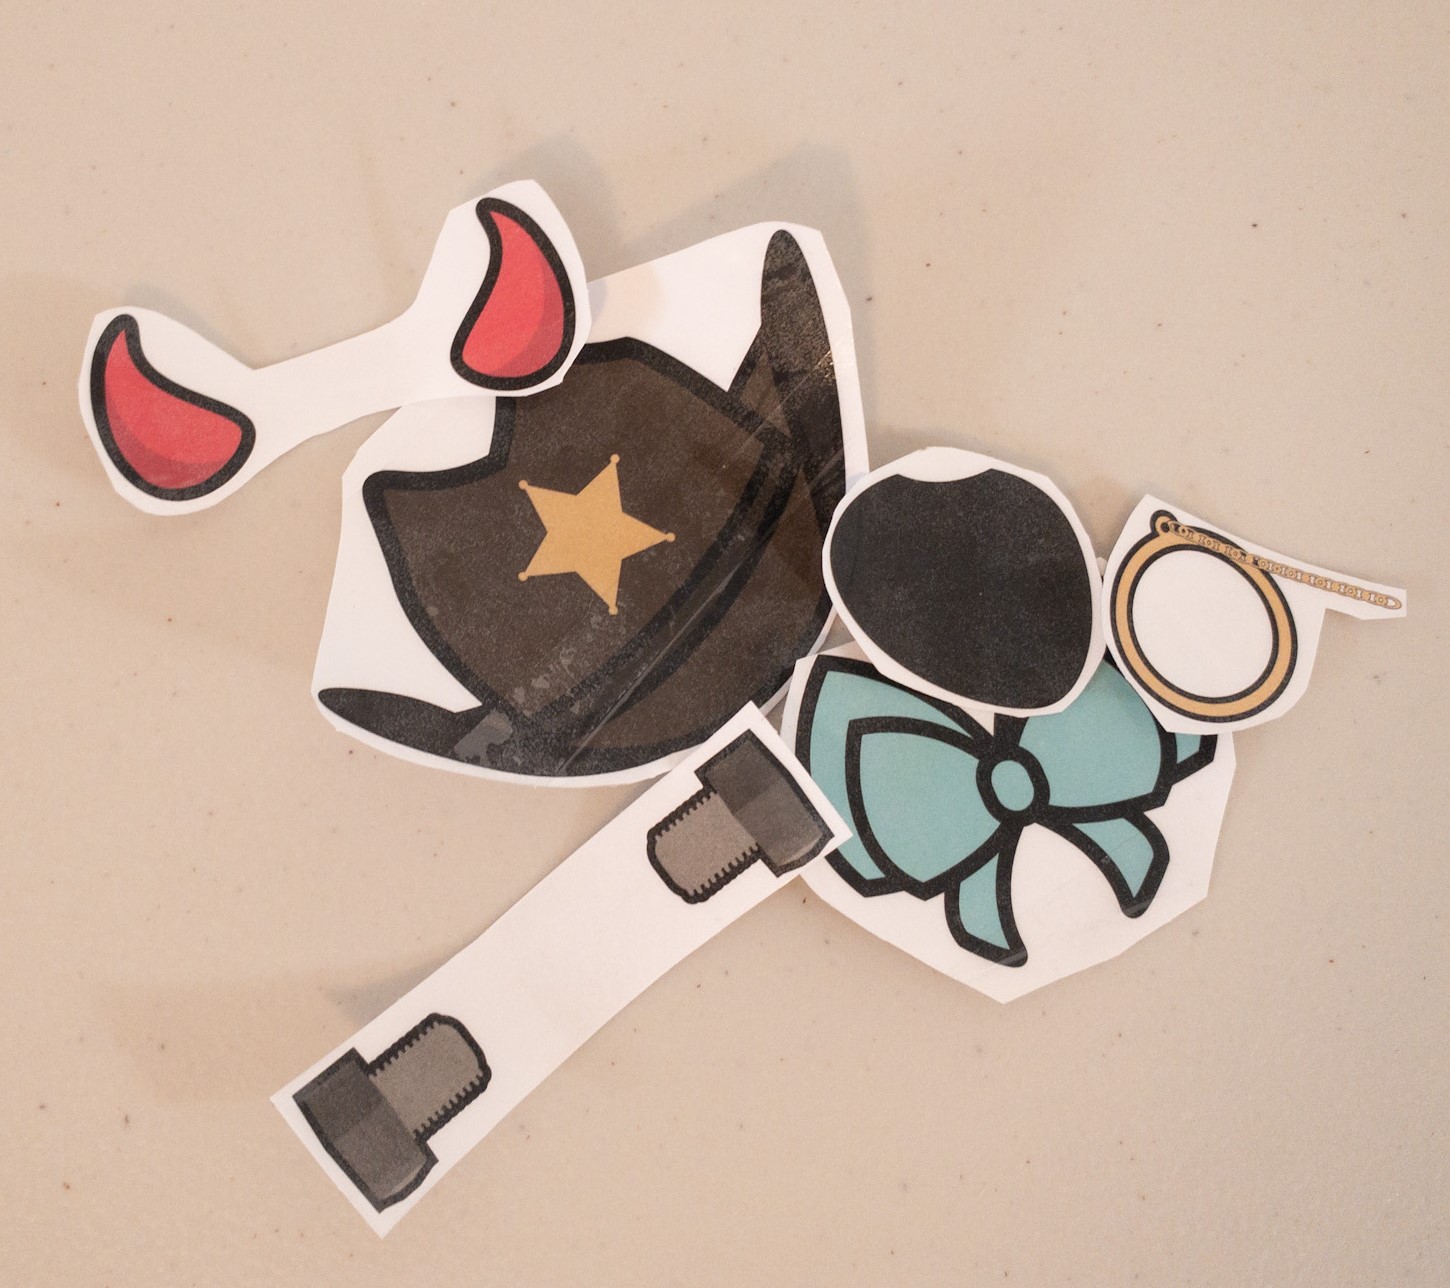
Step 4) Splish-Splash, stickers in the bath! It's time to get wet!
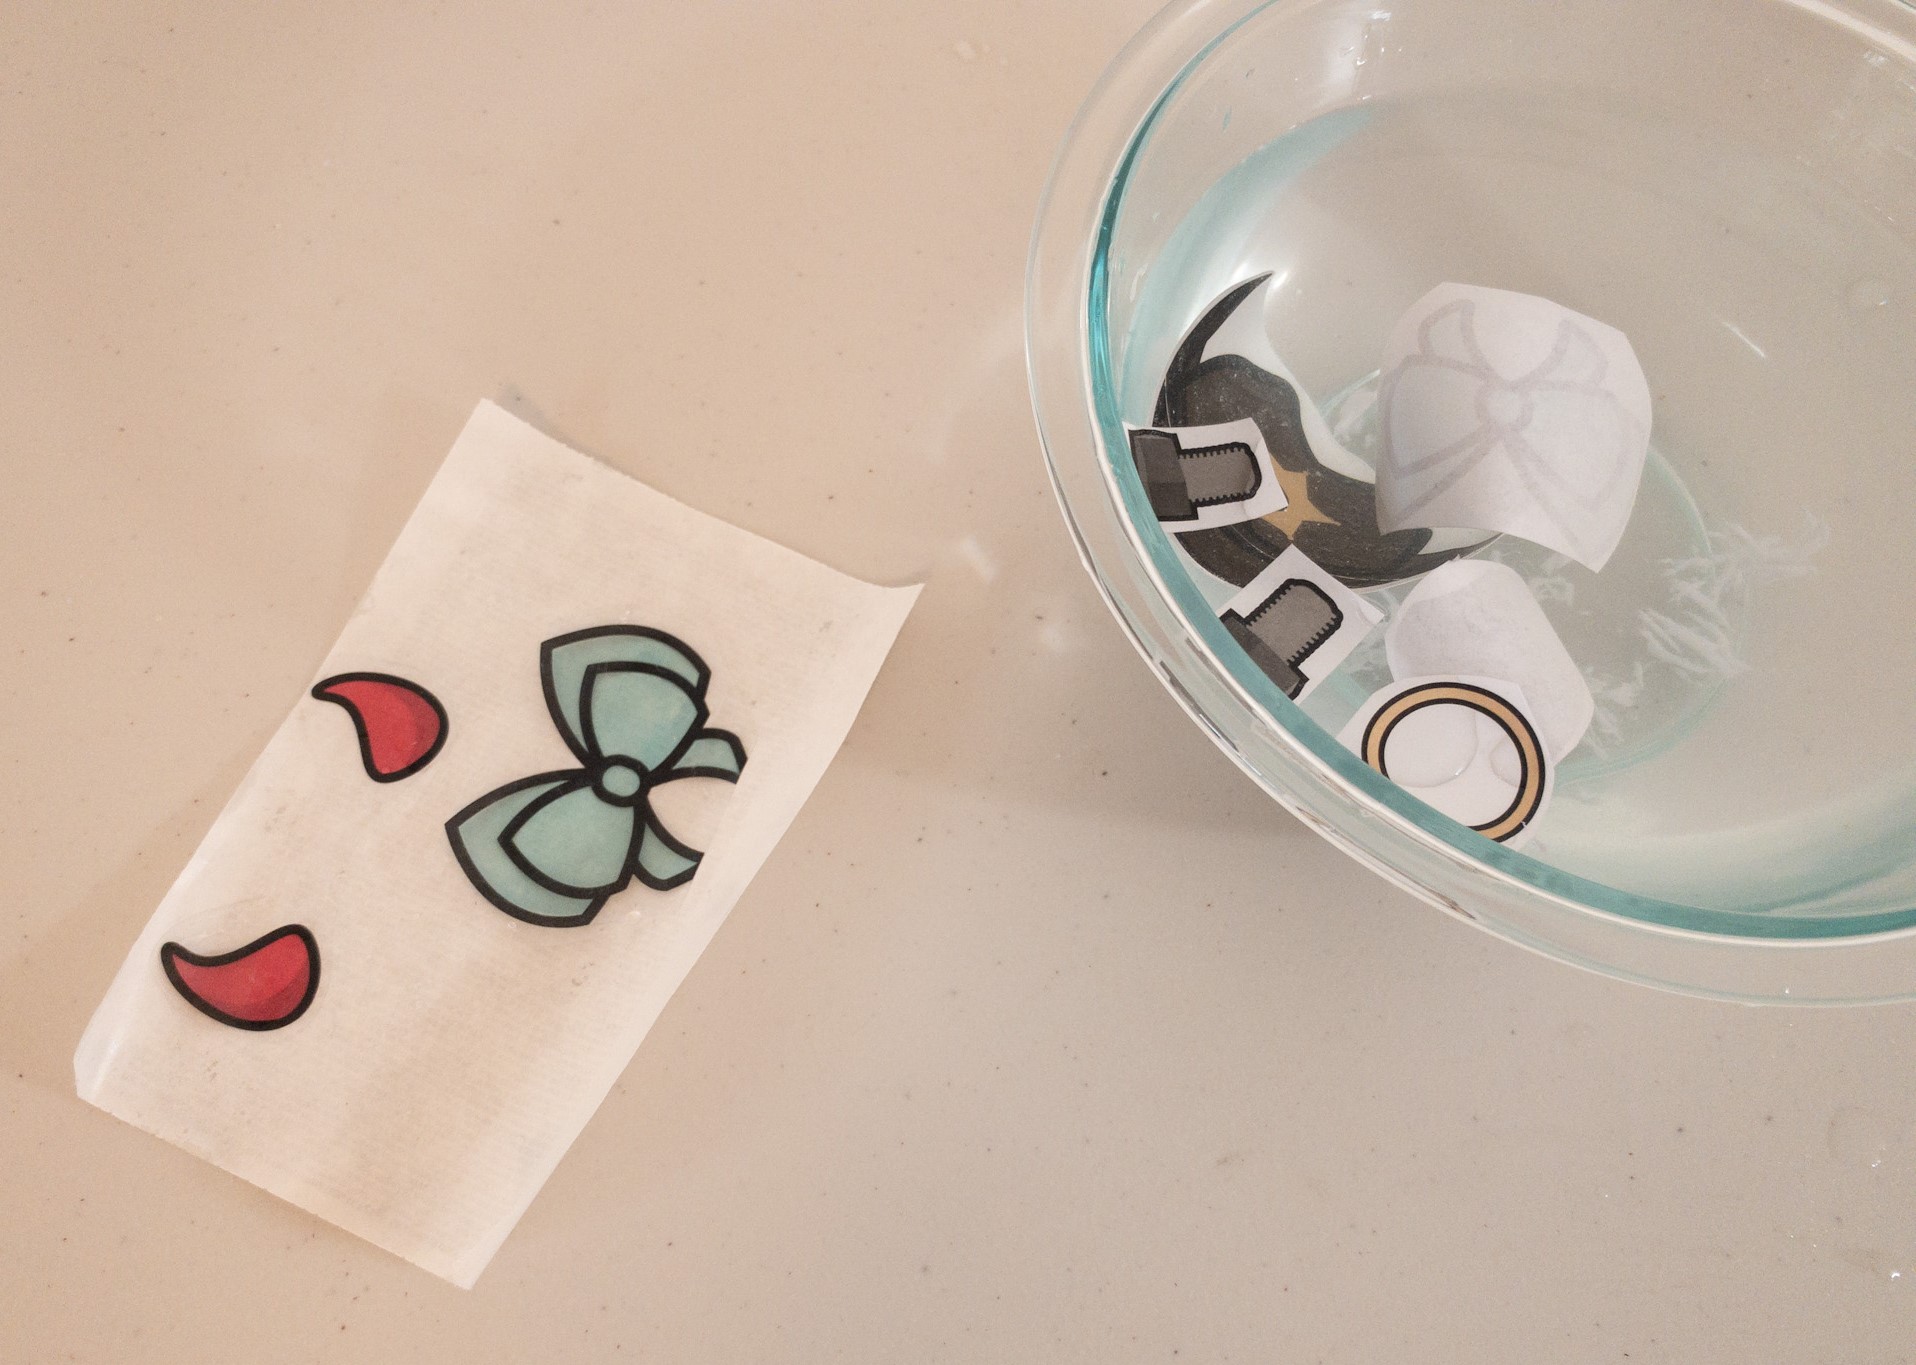
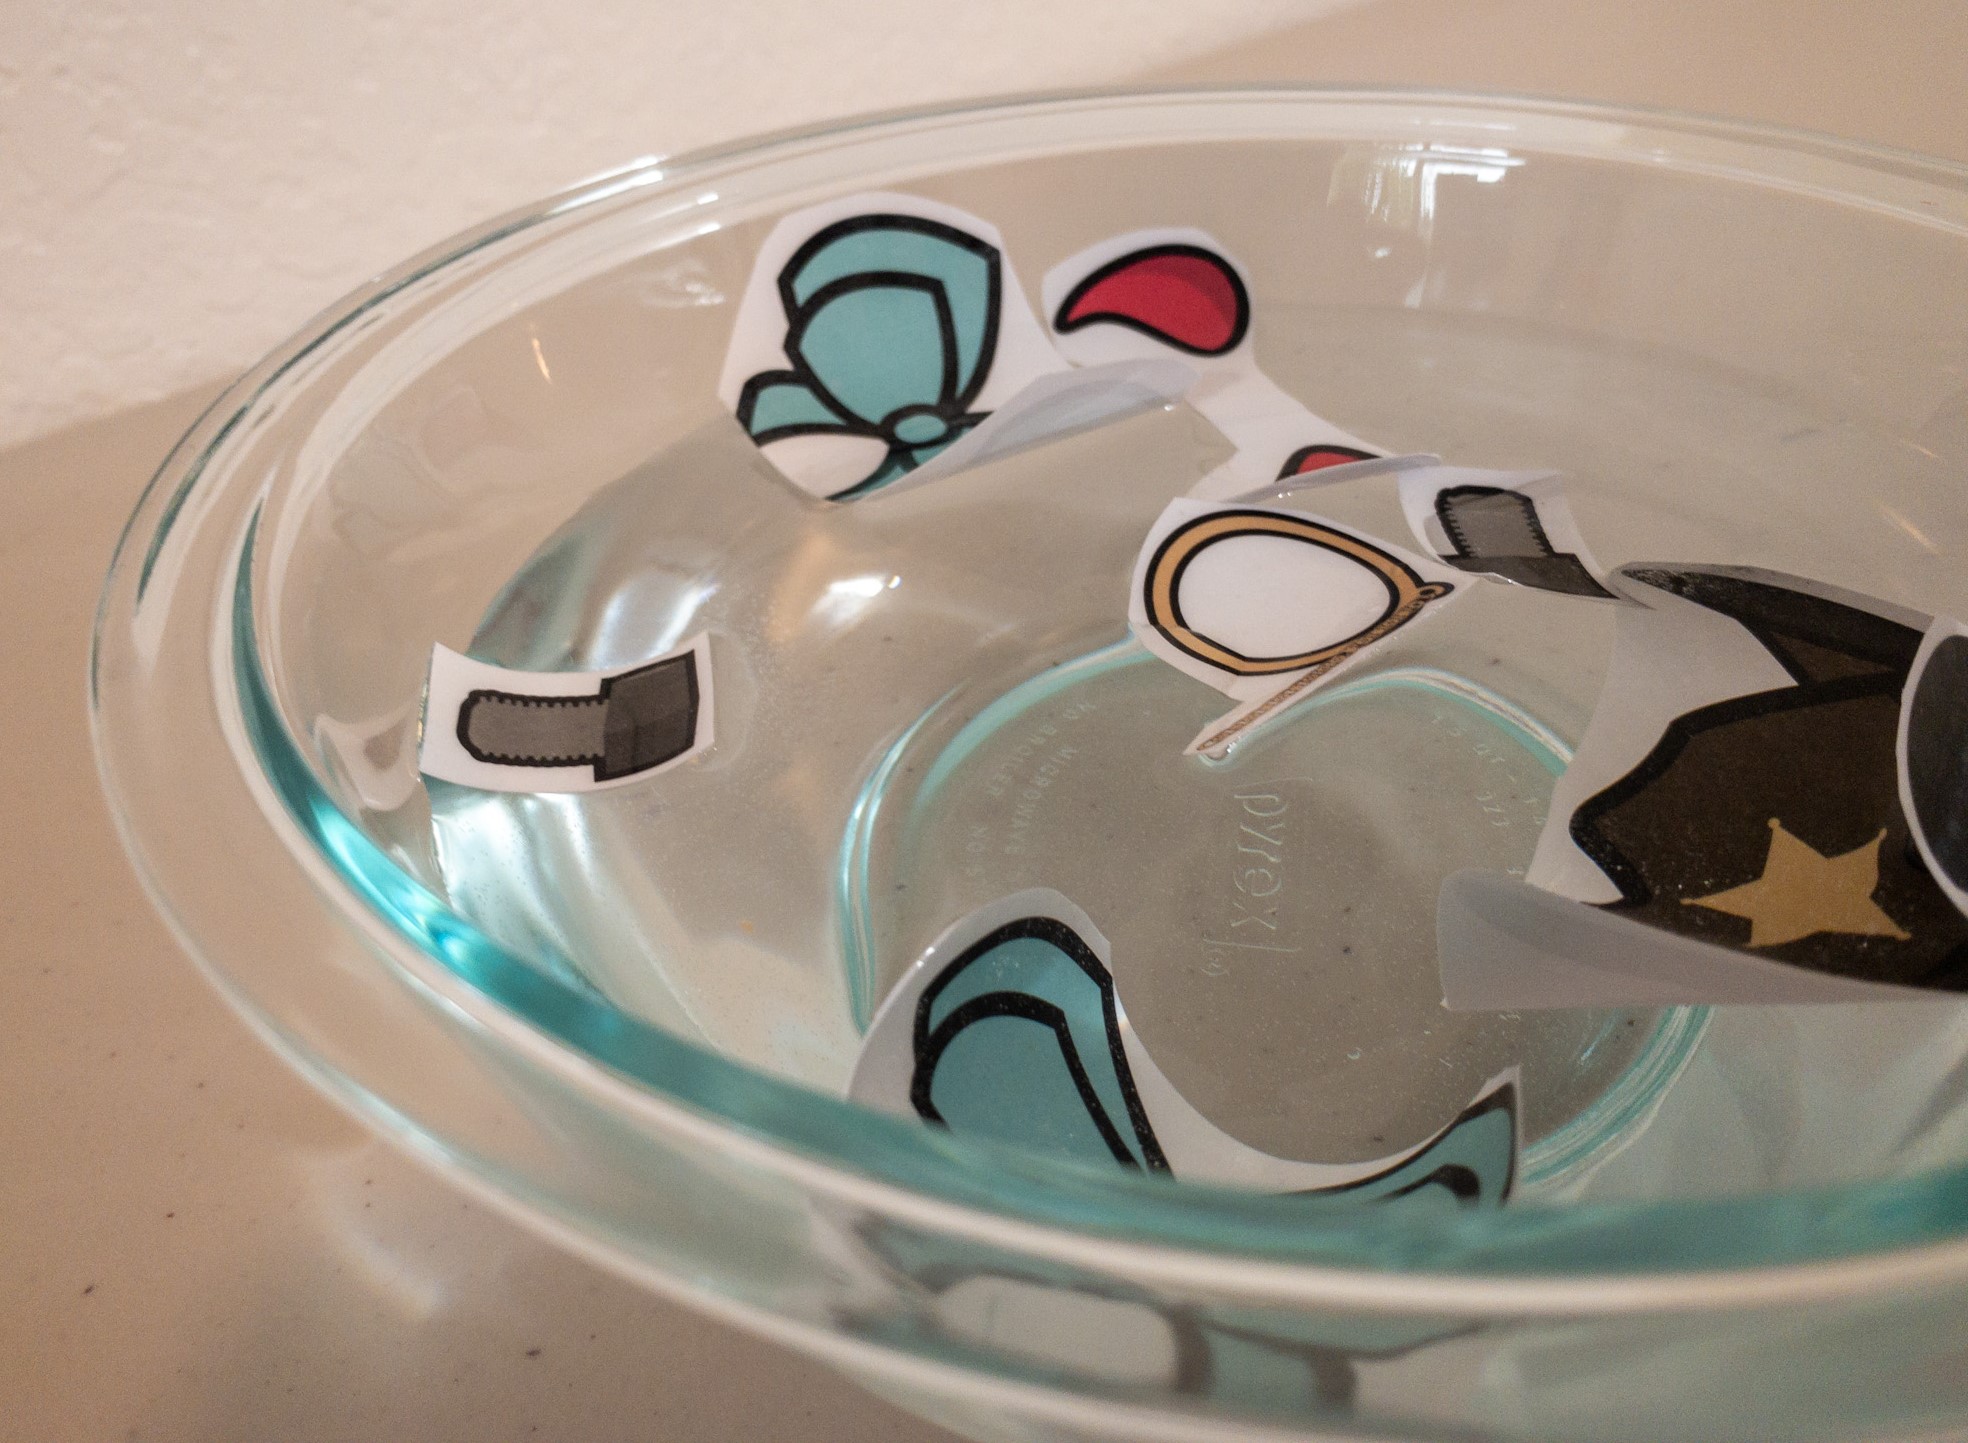
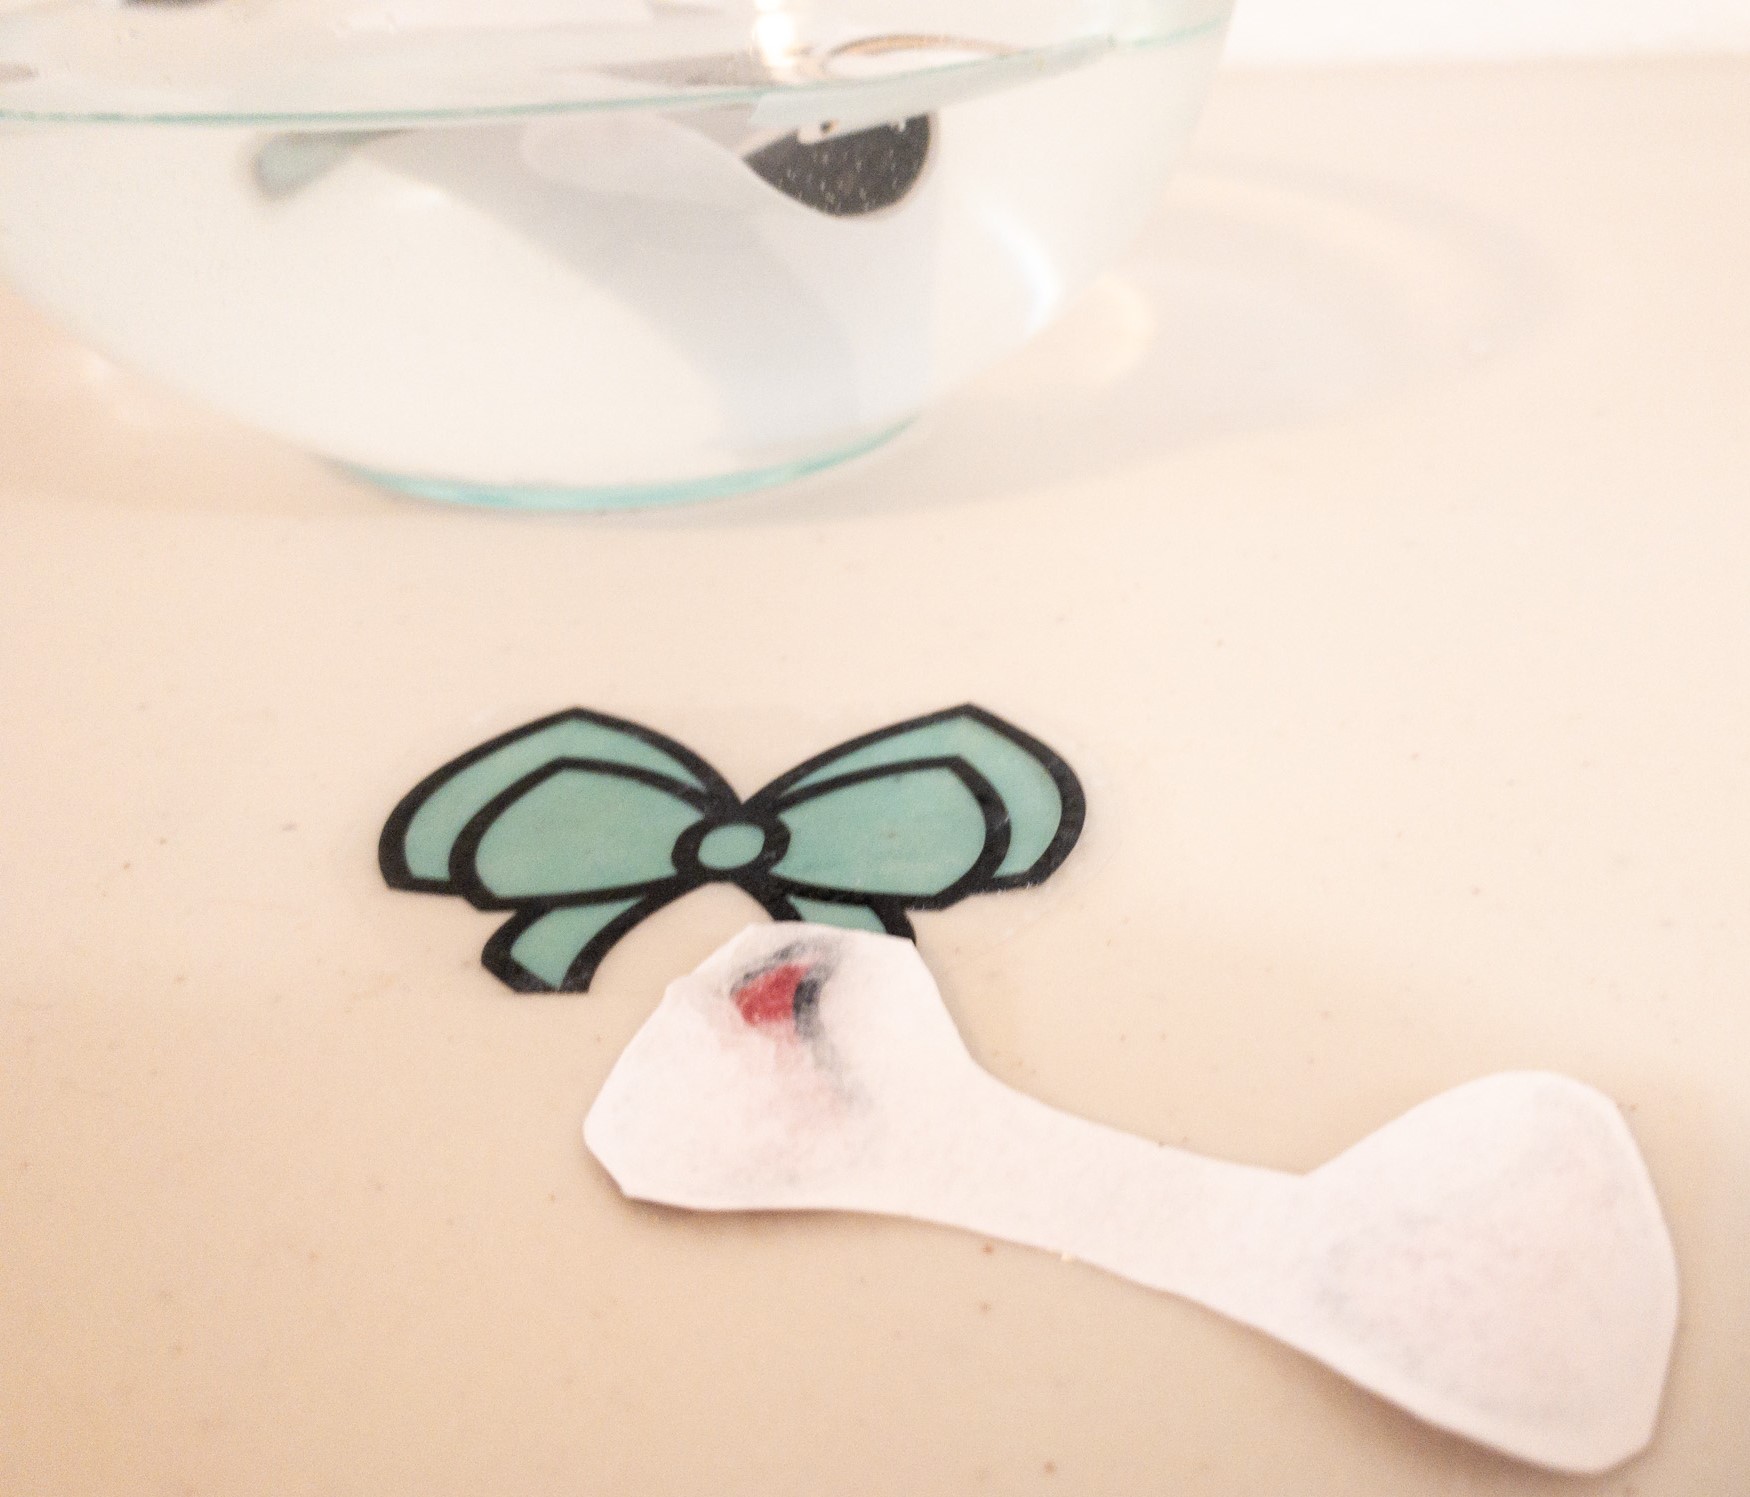
Step 5) Even moar rubbins. Once your paper is saturated check if you can see the ink through the back of the page, if you can go ahead and pull your decal out of the water. Now you should be able to rub the wet paper off the plastic tape with just your fingers, take note the picture stays behind just like magic!
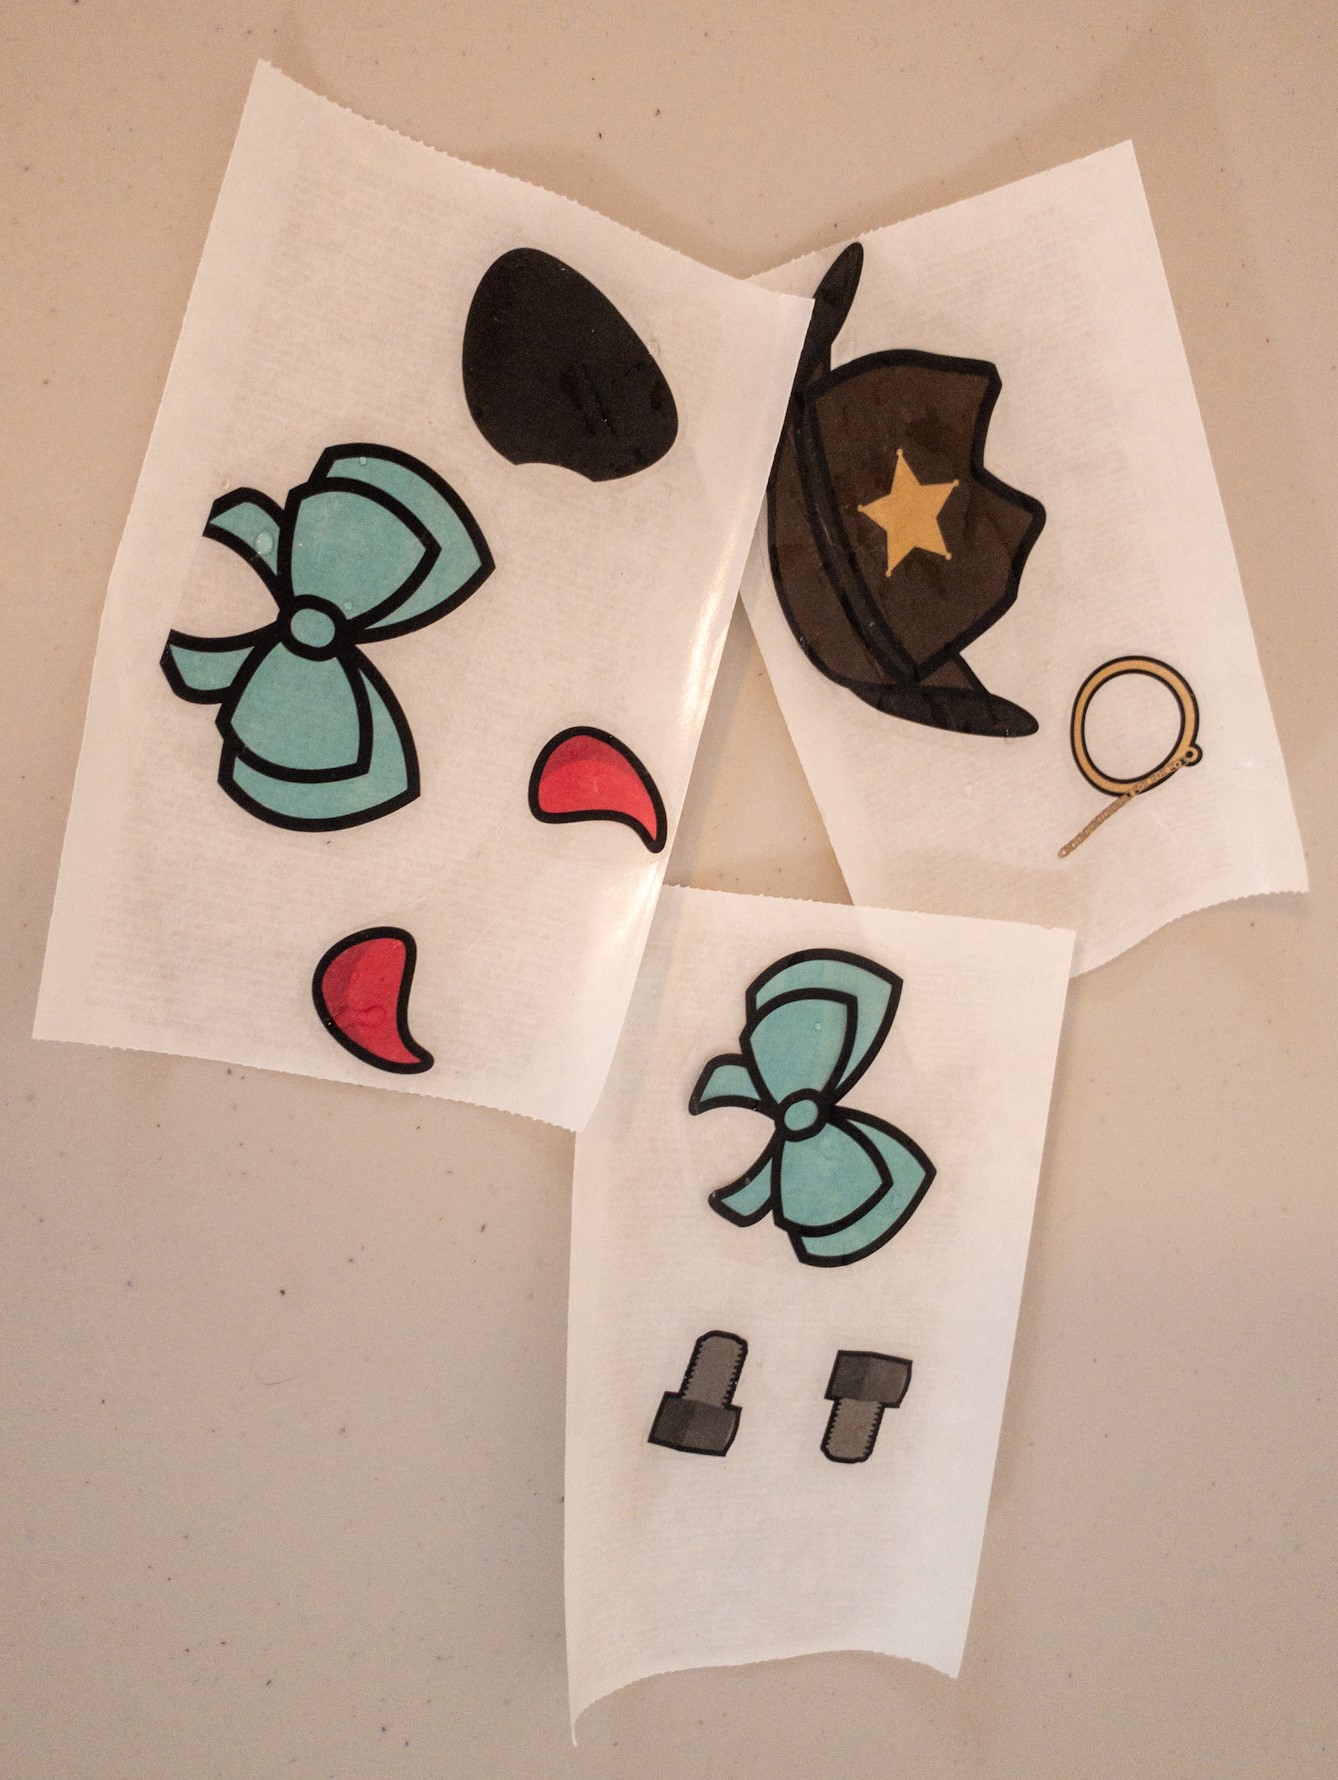
Step 6) Dry Time. Now’s time for those drippy sticker(s) to hang out and dry. We found an easy trick to make things nice and simple, apply your stickers to the backing sheet from a previously used sticker, pretty nifty idea huh? You can even use some wax paper from the kitchen.
Step 7) Sticker Madness! So, your new sticker has completely dried out, which means now it's time to put it… well… wherever you please! A few adorable babuus at the ABU offices tried out placing stickers on the backs of their diapers, just high enough to peek out and show off! Make sure you line it up suuuper careful, because once you stick them, they’re not coming off without a fight! 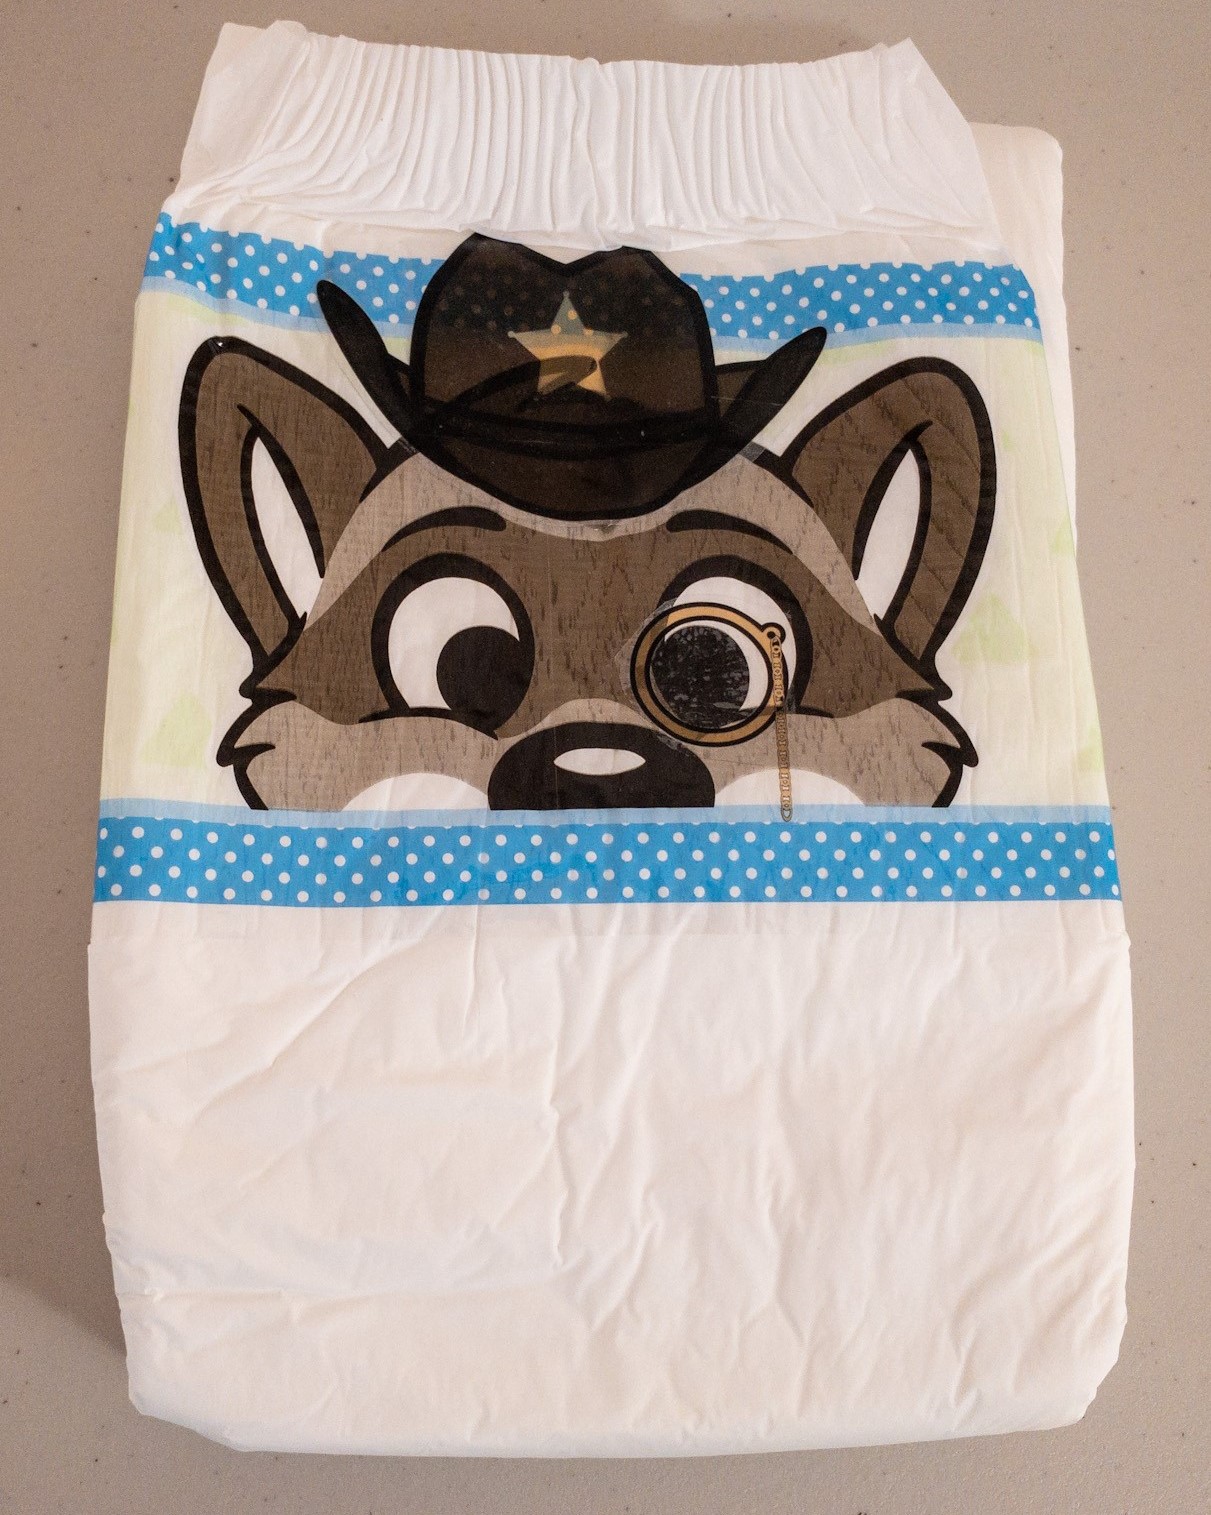
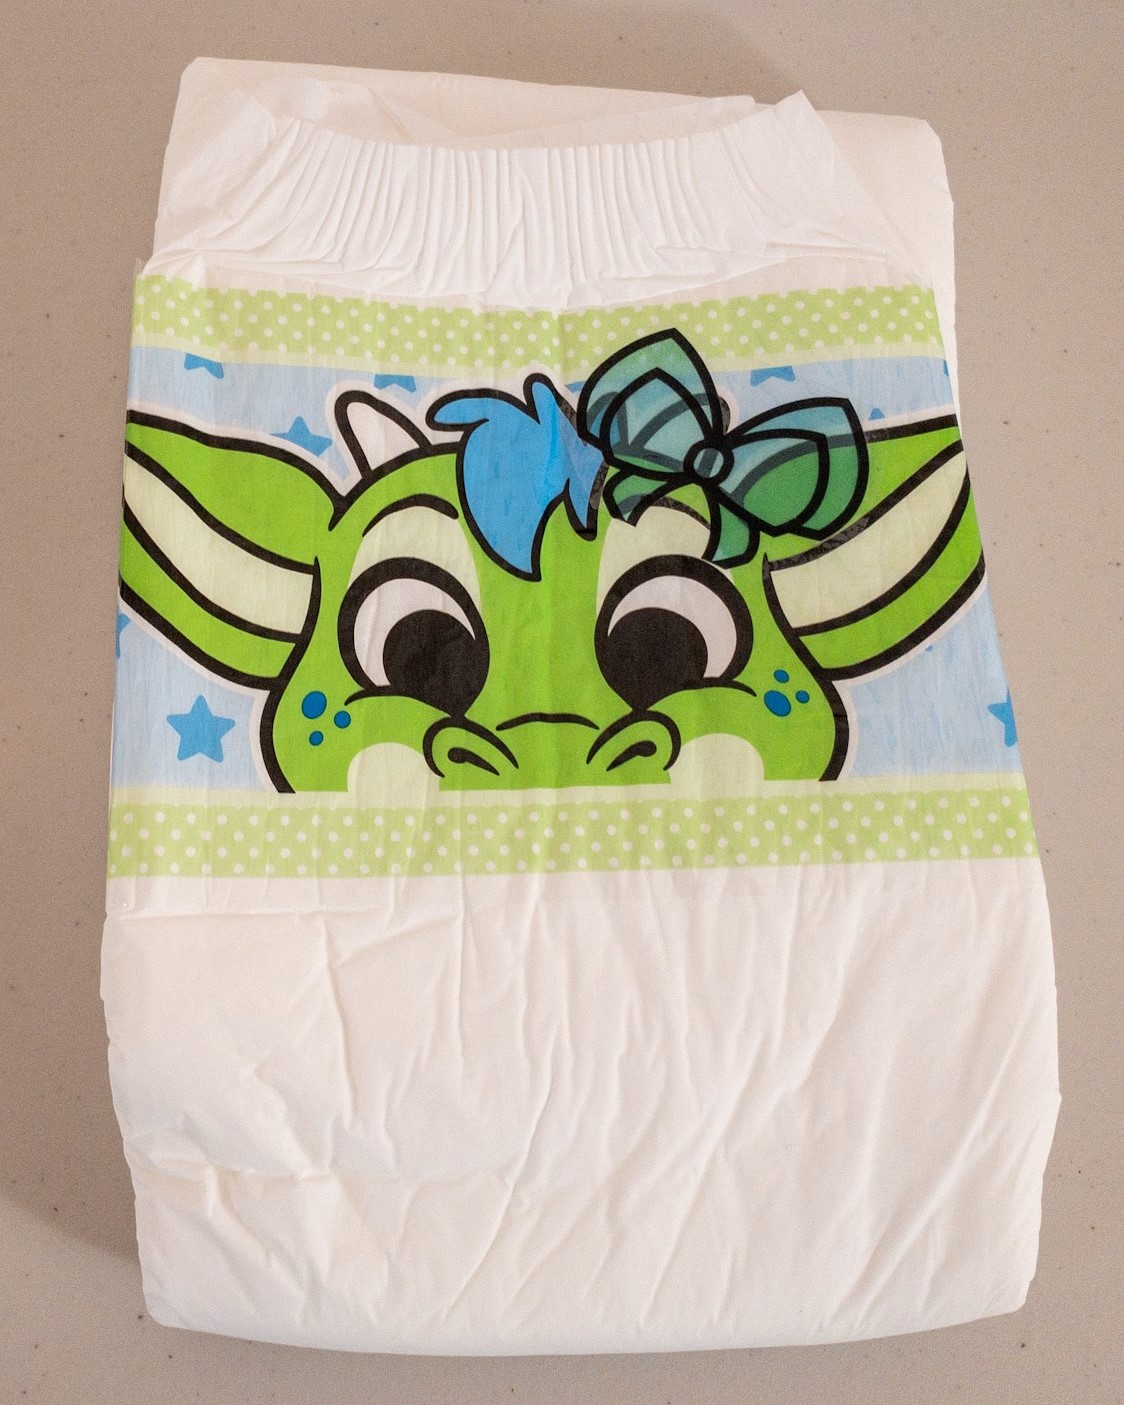
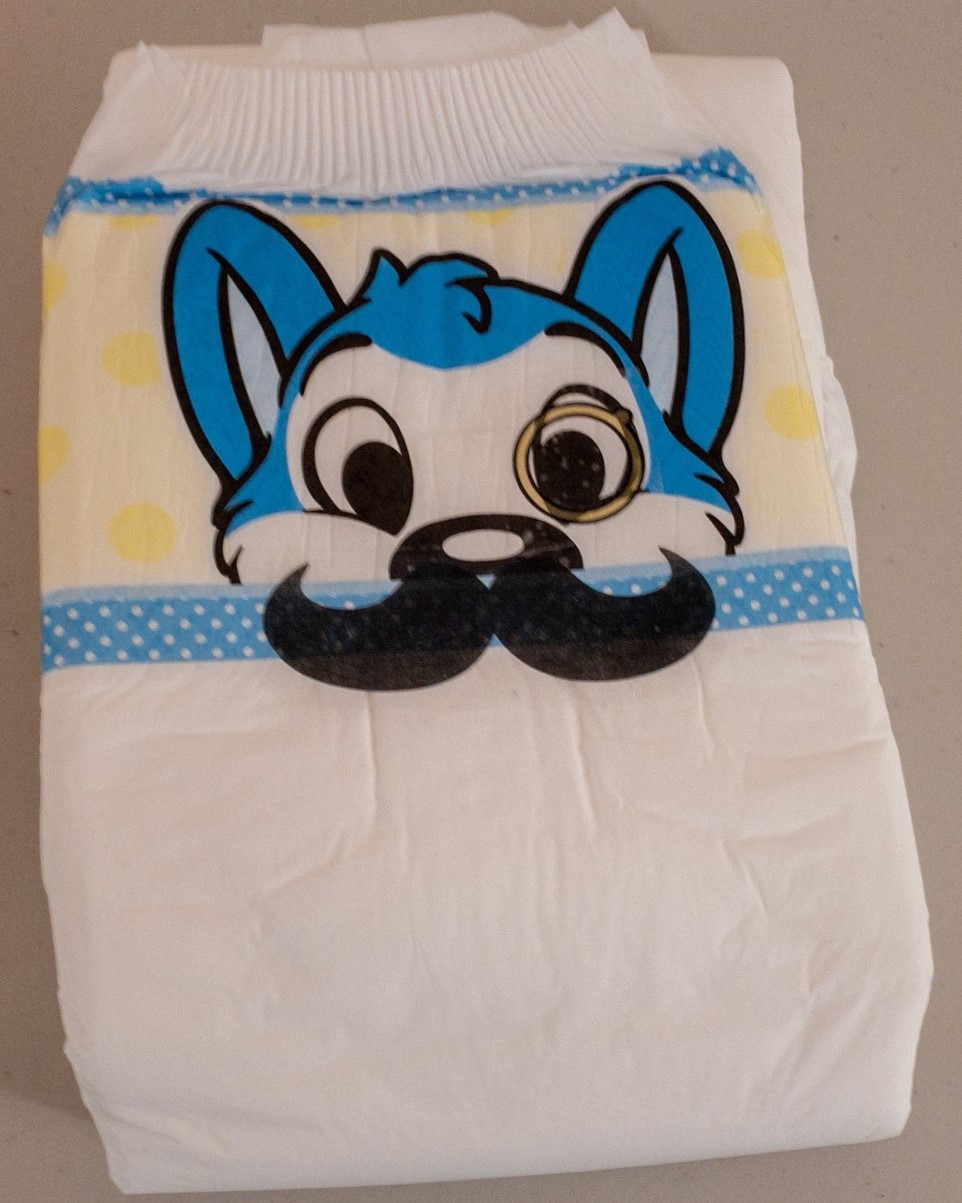
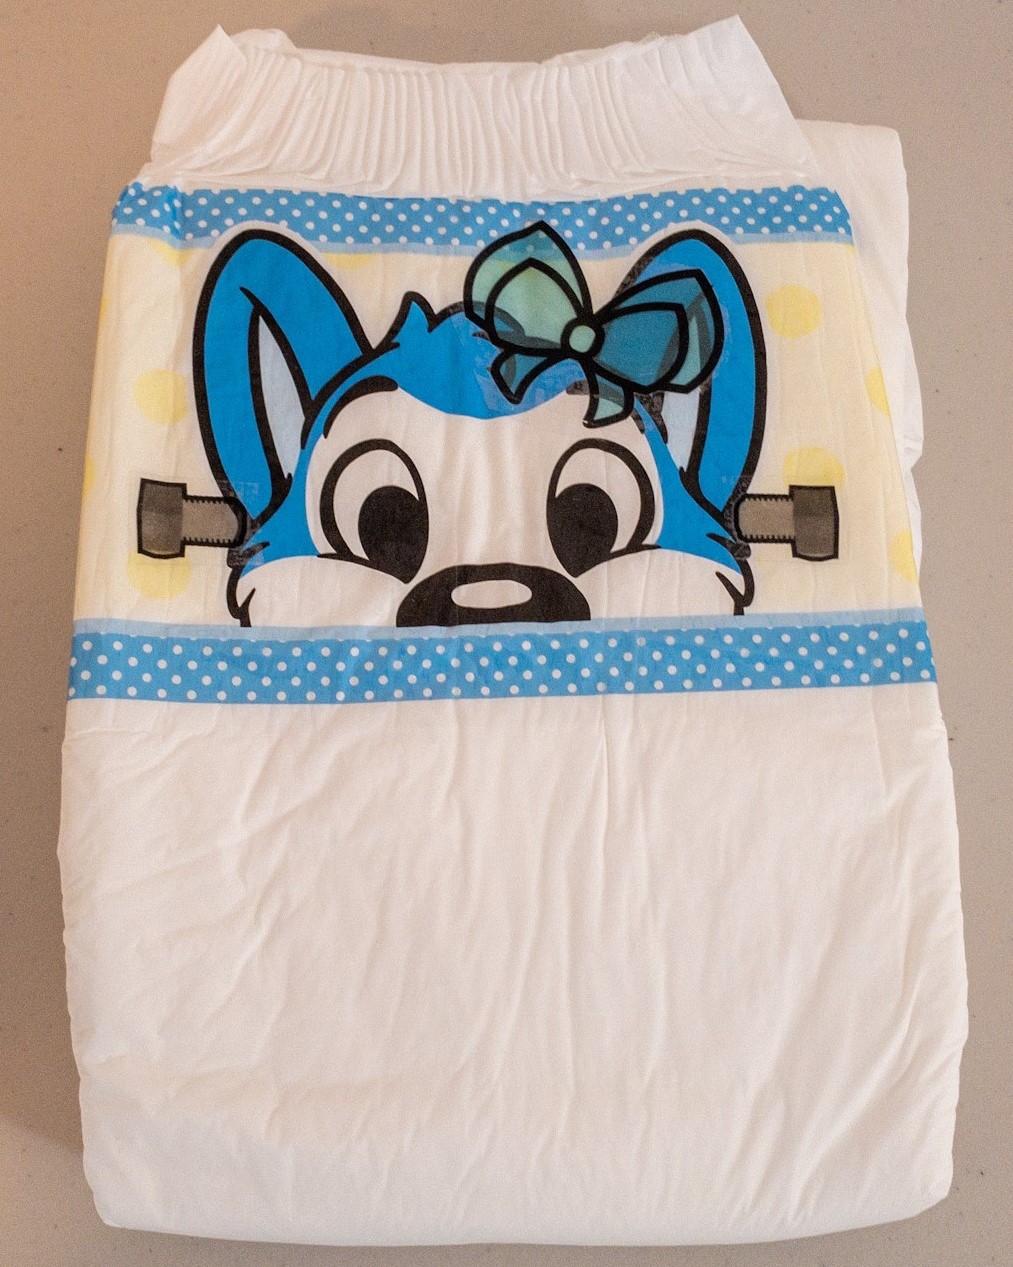
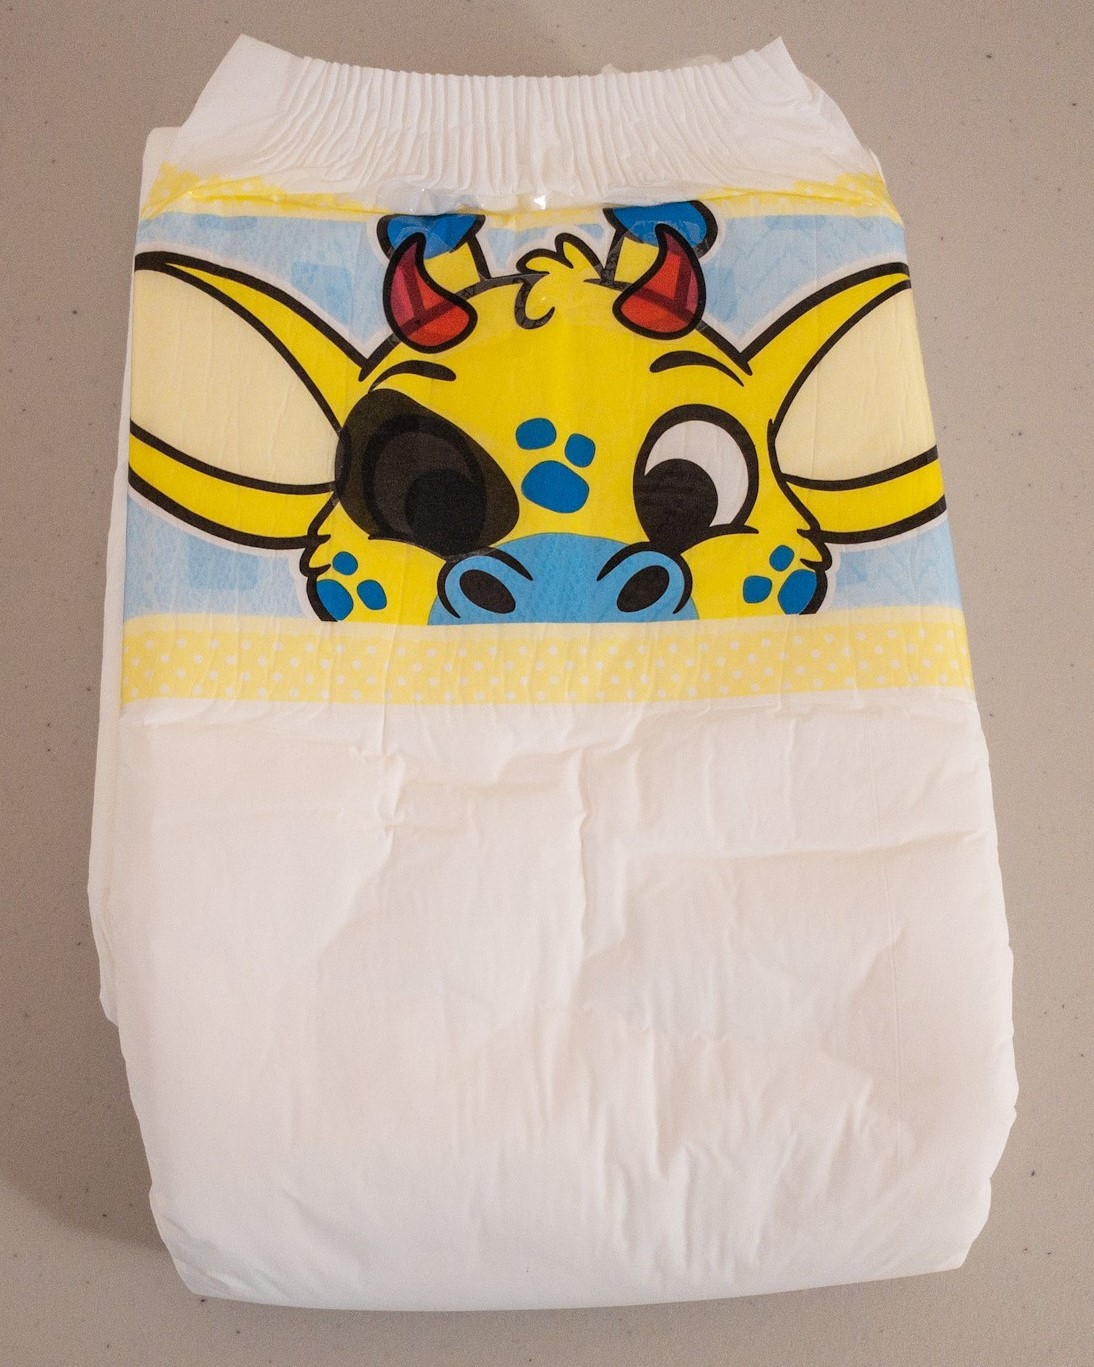
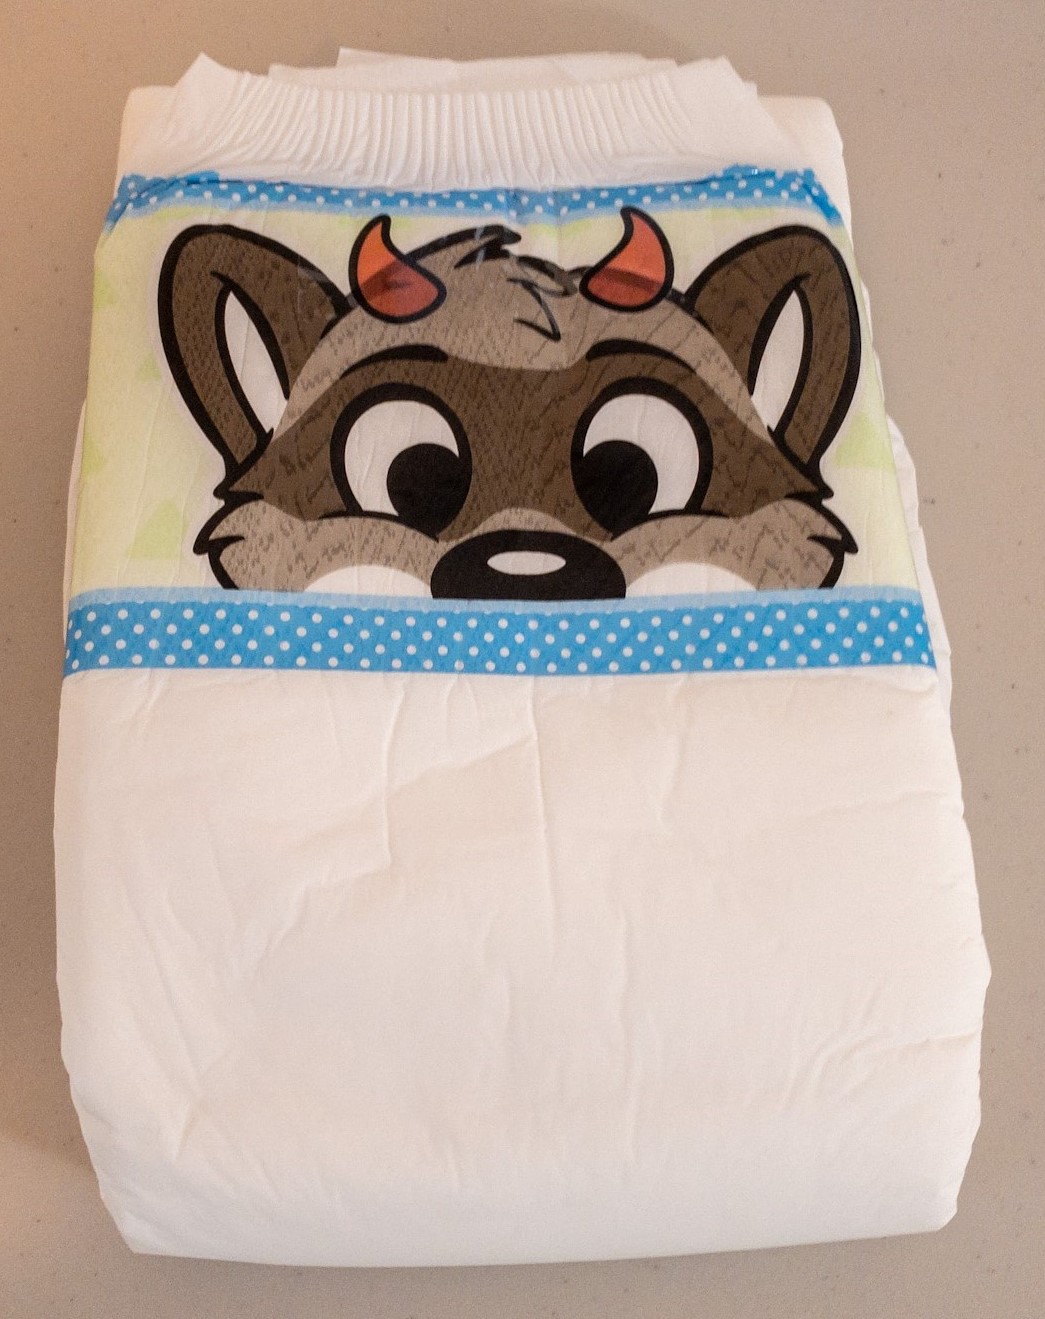
Step 8) Show it off! Ta Da!! You did it! Now it’s time to show off your new super fancy diaper stickers to all your friends! You can even make some for them and share, so cool!! Whatever your stickers you choose to make, we think if you follow these steps, you'll have a fool proof process for sprinkling a little Diaper Decal magic to your crinkly time. From the whole gang here at ABU, stay cute, stay safe, and stay padded kiddos! 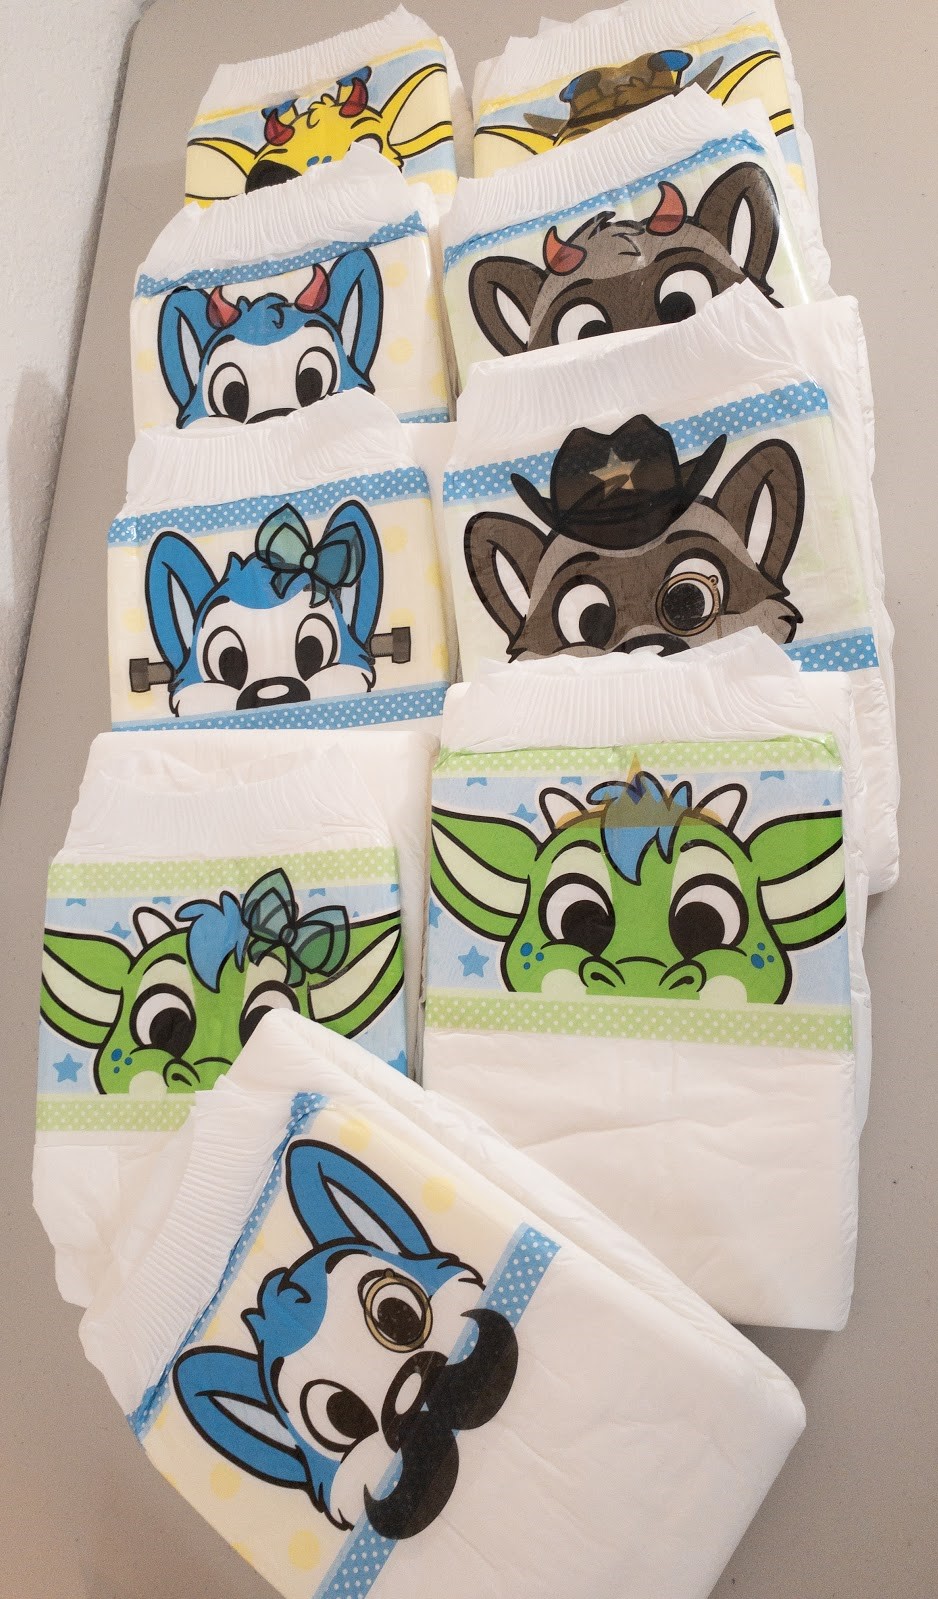
|
- The ABDL community comes first
- Problems will be made right, every time
- You can only buy what we have in stock
- Our shipping will be logical & discreet
- We will respond to all communication
- Our team is 100% ABDL
ABU: Lost In Little Space – Cyber Week 2025!
November 26, 2025
Goodbye Tariff Surcharge (For Now!)
September 5, 2025

